

 Tweet
Tweet
Just like the great Gunny 2-33's!! 😄
-
A Site for Soar Eyes -
I'm setting up control throws on my ASW and have run into a problem with the ailerons. The Instructions call for 29 mm up travel on High Rate and 23 mm on Low Rate. There's no way I can get 29 mm with the servo arm length given in the instruction manual. I have it set at 15 mm now and could maybe get 20, but that's it. With longer servo arms maybe 25 mm, but 29 mm looks like an awful lot of throw to me. How are other ASW owners setting their aileron throws? My experience is all TD/F3J so Scale is brand new to me.
Thanks,
TomComment
-
The manual actually says 23 mm up on high rate and 21 mm up on lower rate. Do you have the correct Horns glued into the ailerons? You are measuring at the widest point correct? Even at the high rate the Ailerons are sluggish. I would then increase the servo arm length out one more hole.Gunny
Aviation Concepts rcComment
-
Thanks Gunny, you're correct, the manual does say 23 and 21 mm. I was writing from the house while the manual was in the shop and remembered the numbers wrong. The correct horns are in the ailerons and I was measuring at the flap junction, so think the servo arm shouldn't have been cut to 1/2 in per the manual but left long. One more hole would do it I think. Your comment that at high rate the ailerons are sluggish is valuable and tells me I need to fix this before I fly. Thanks!
TomComment
-
I am using a futaba radio with the recommended servos and I set my ATVs all the way up to 140%. I don't remember if I pushed it out one more hole or not on the arm.Gunny
Aviation Concepts rcComment
-
Does anyone have the dimensions of the letters on the fuselage? I peeled them off when I got mine , but now I want to add a custom N number.Kevin K
Kremer Aerotowing TeamComment
-
Kevin,
I sent your Dad and email with all the pictures, dimensions and colors that were given to Callie-Graphics for the ASW20
LENLen Buffinton
Team Horizon HobbyComment
-
Got it! Thanks LenKevin K
Kremer Aerotowing TeamComment
-
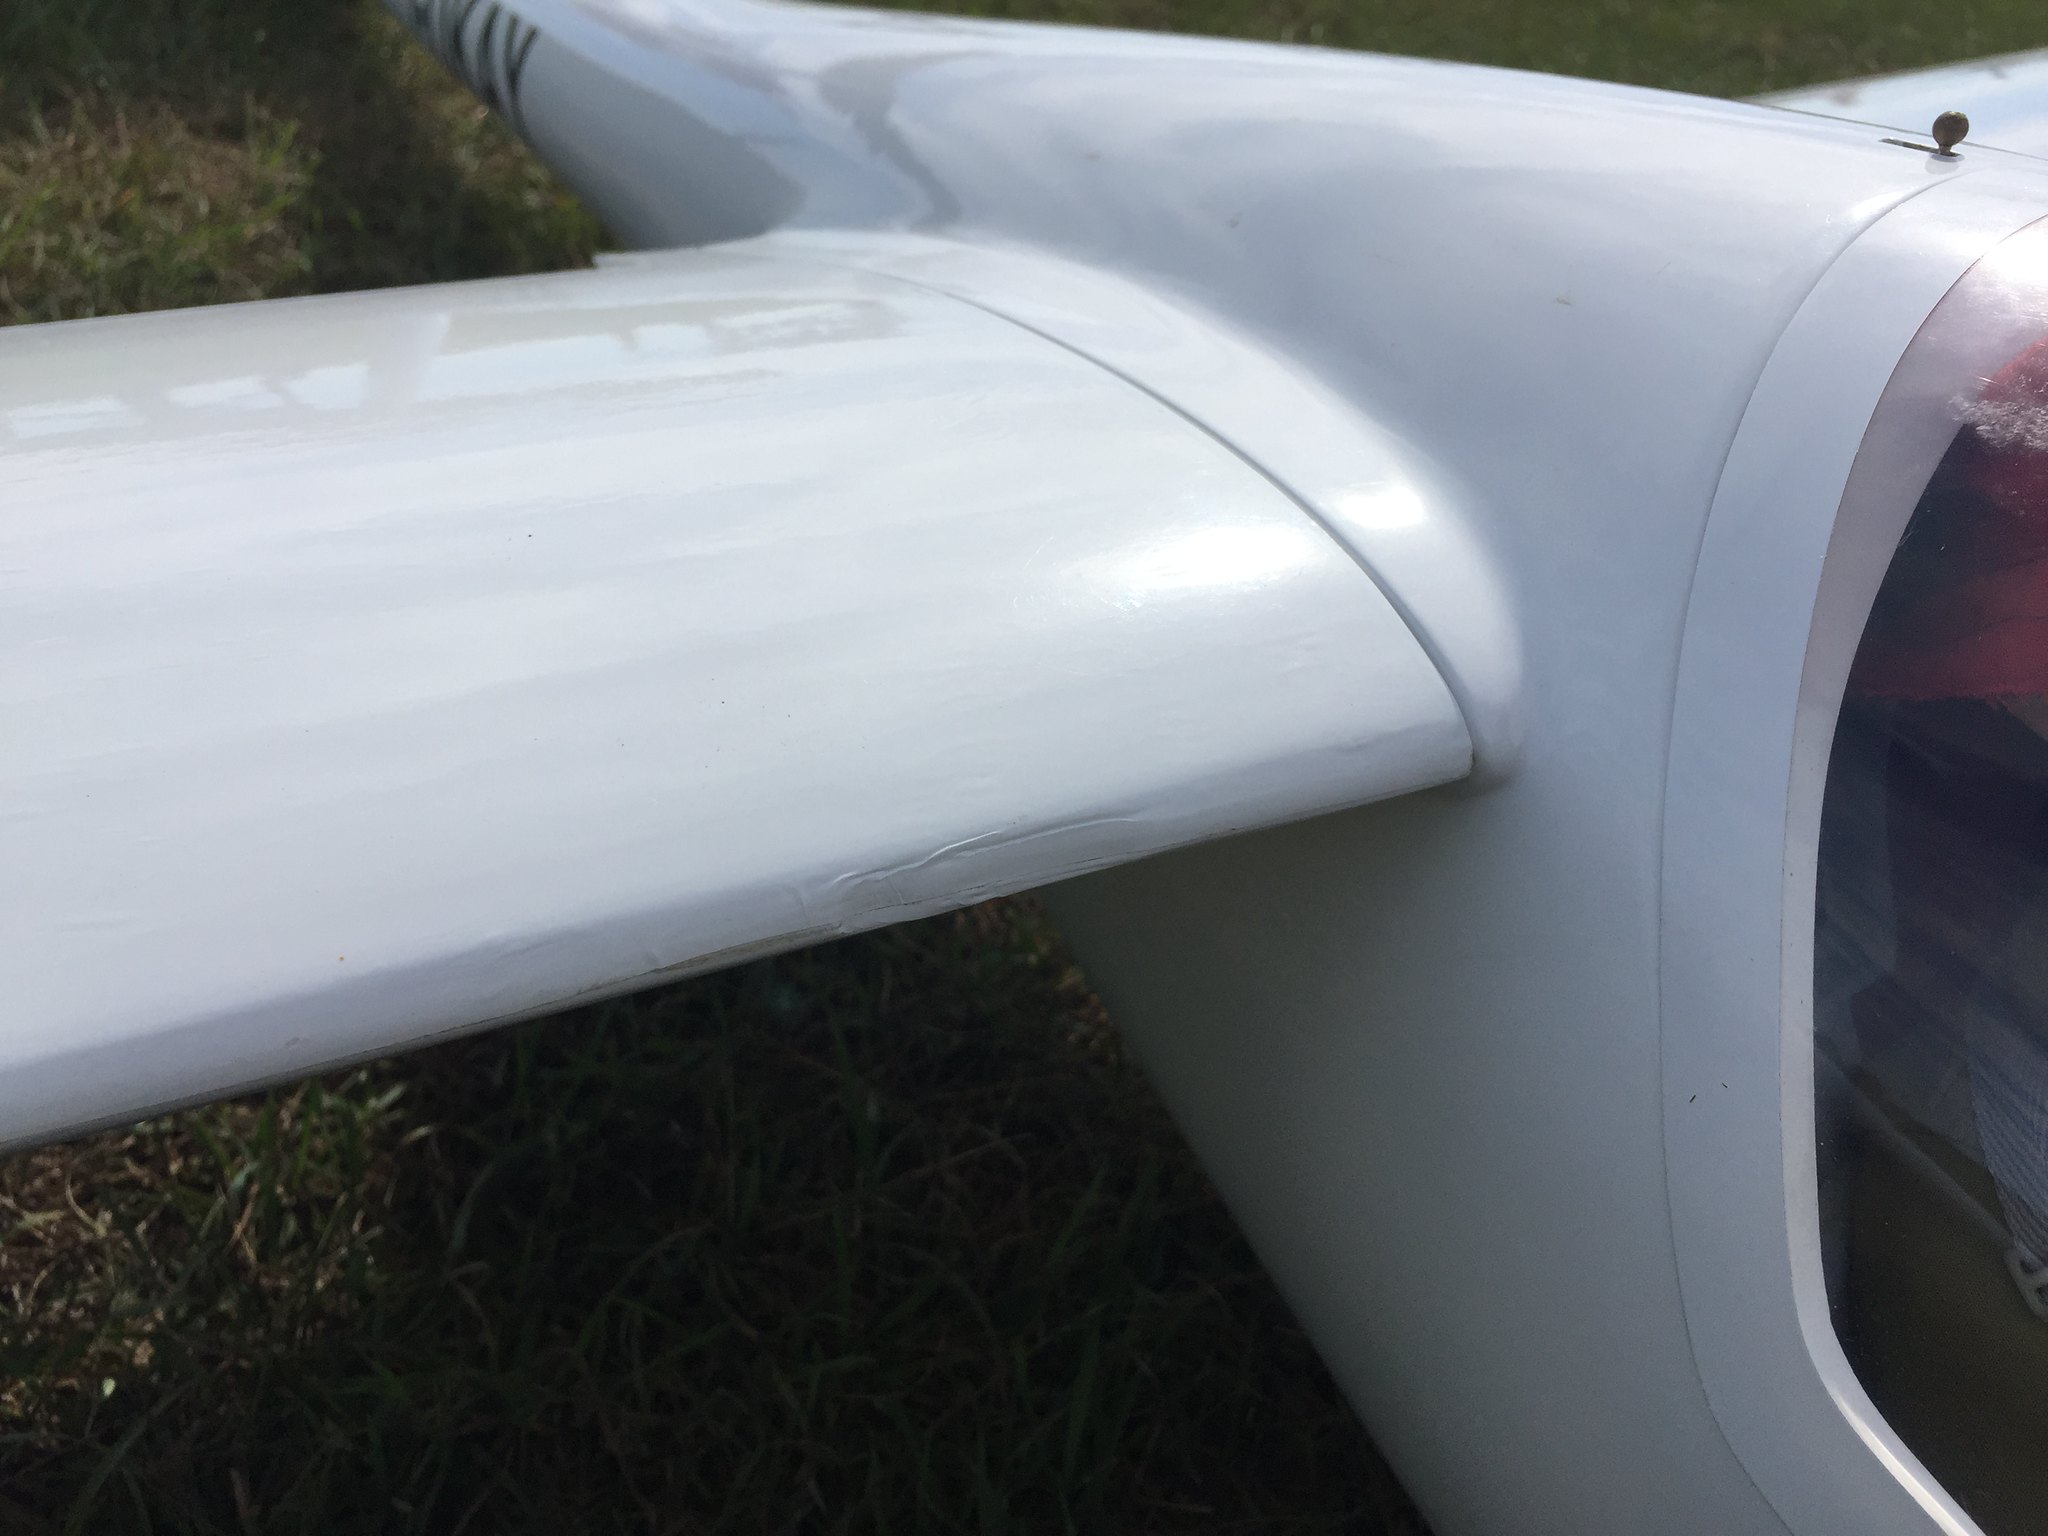
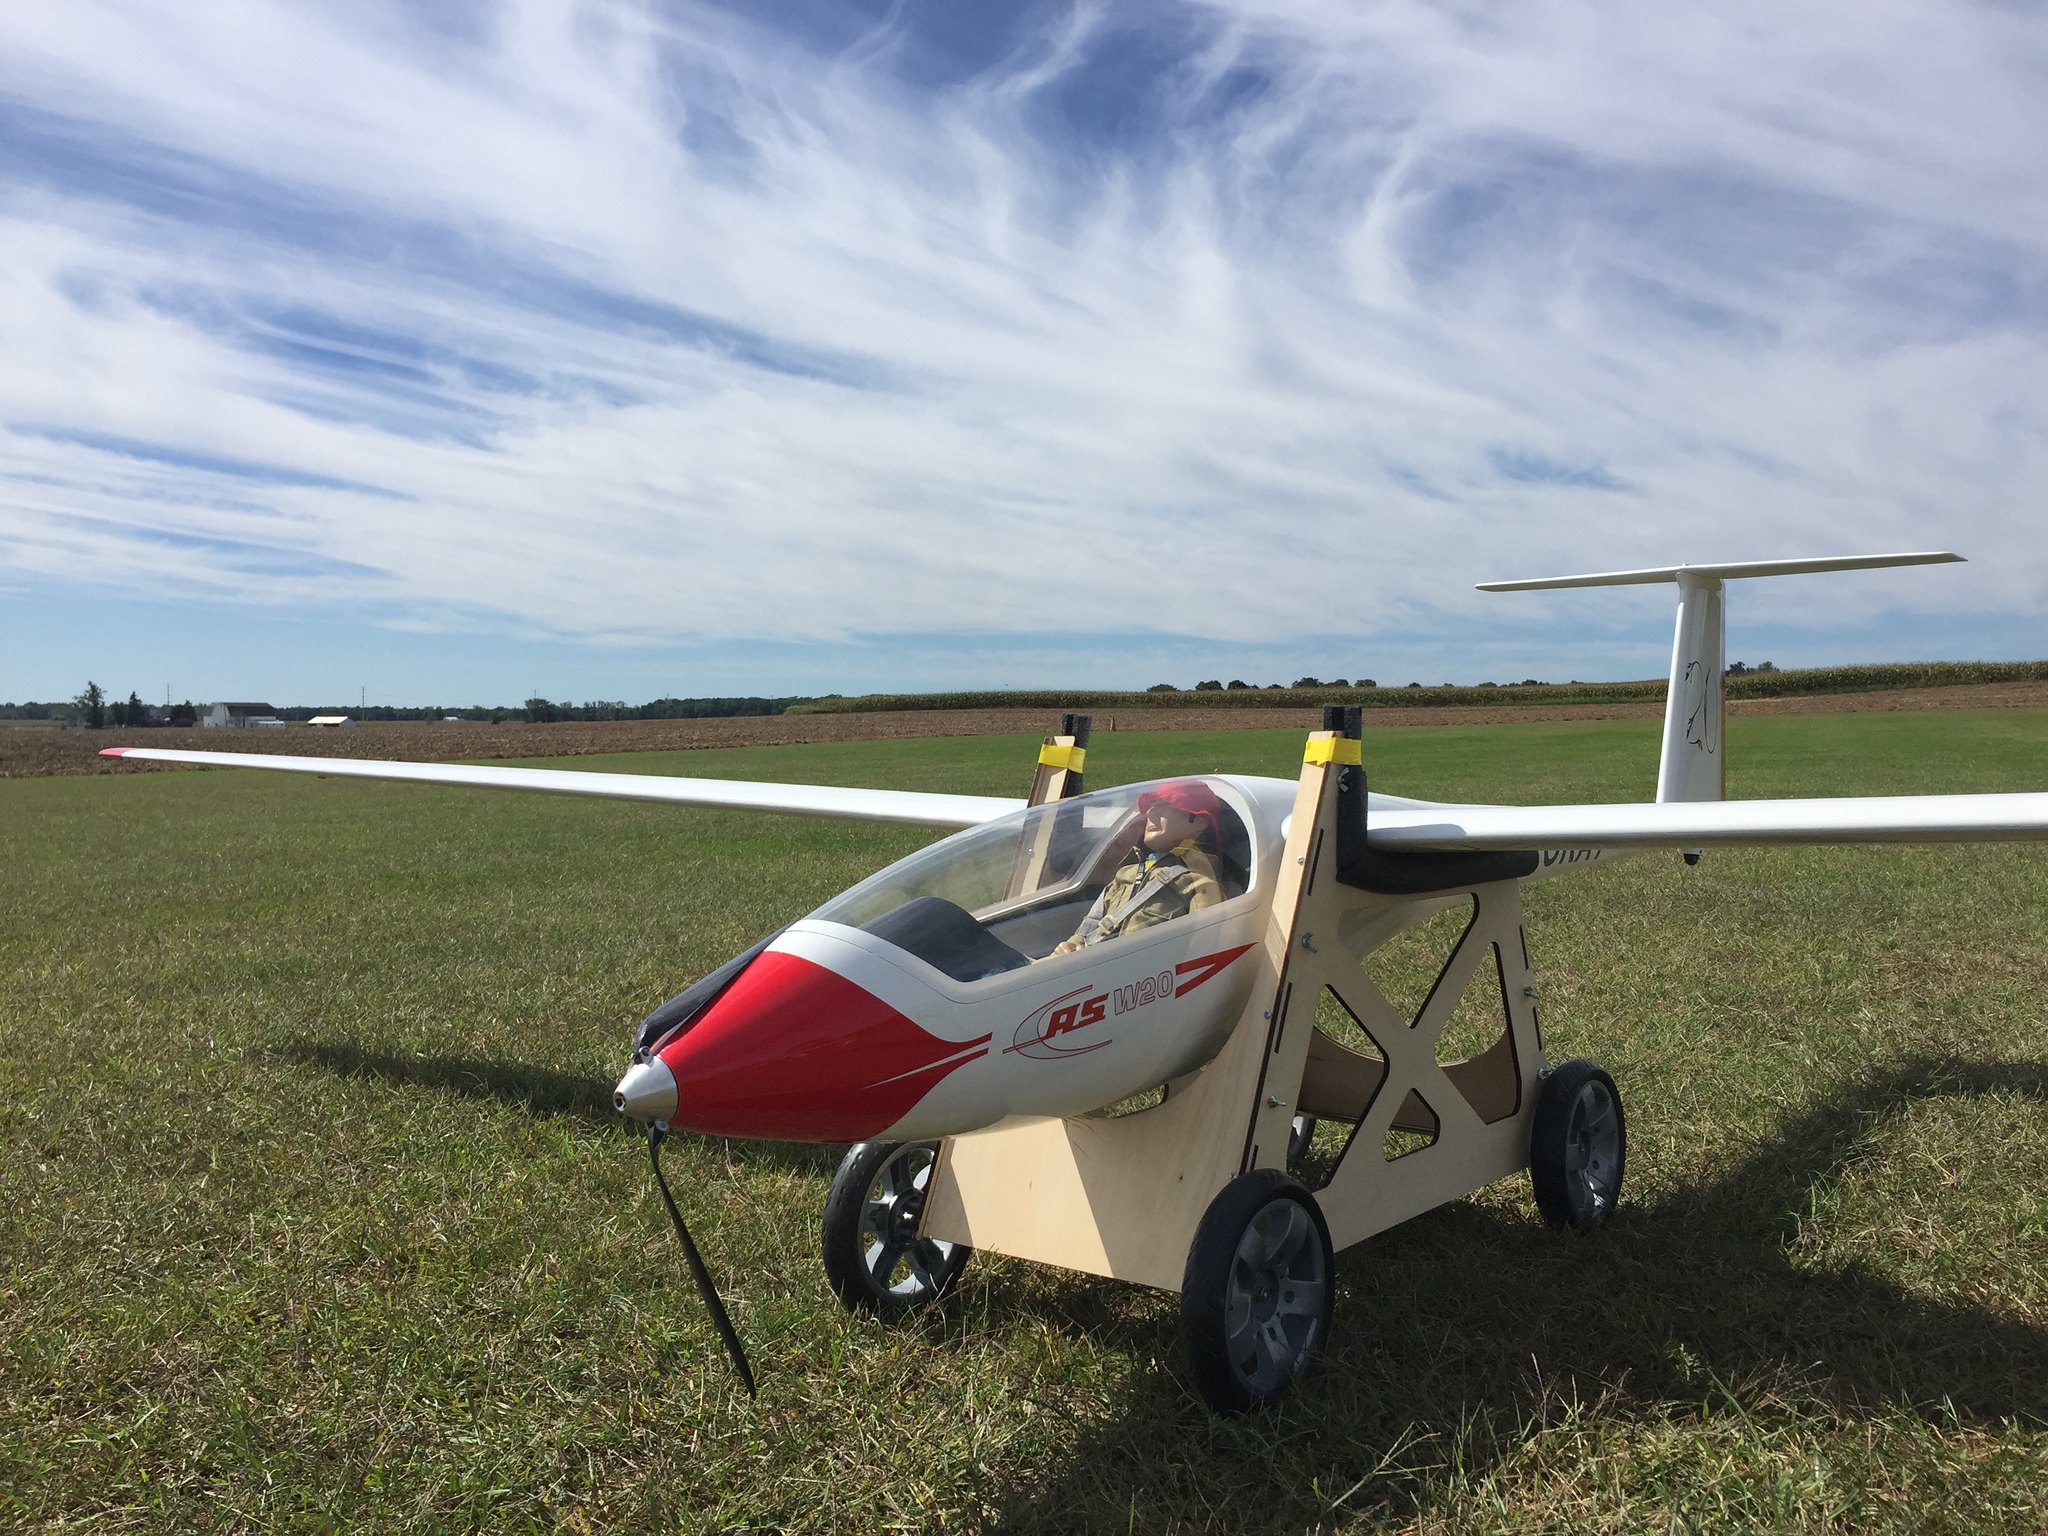
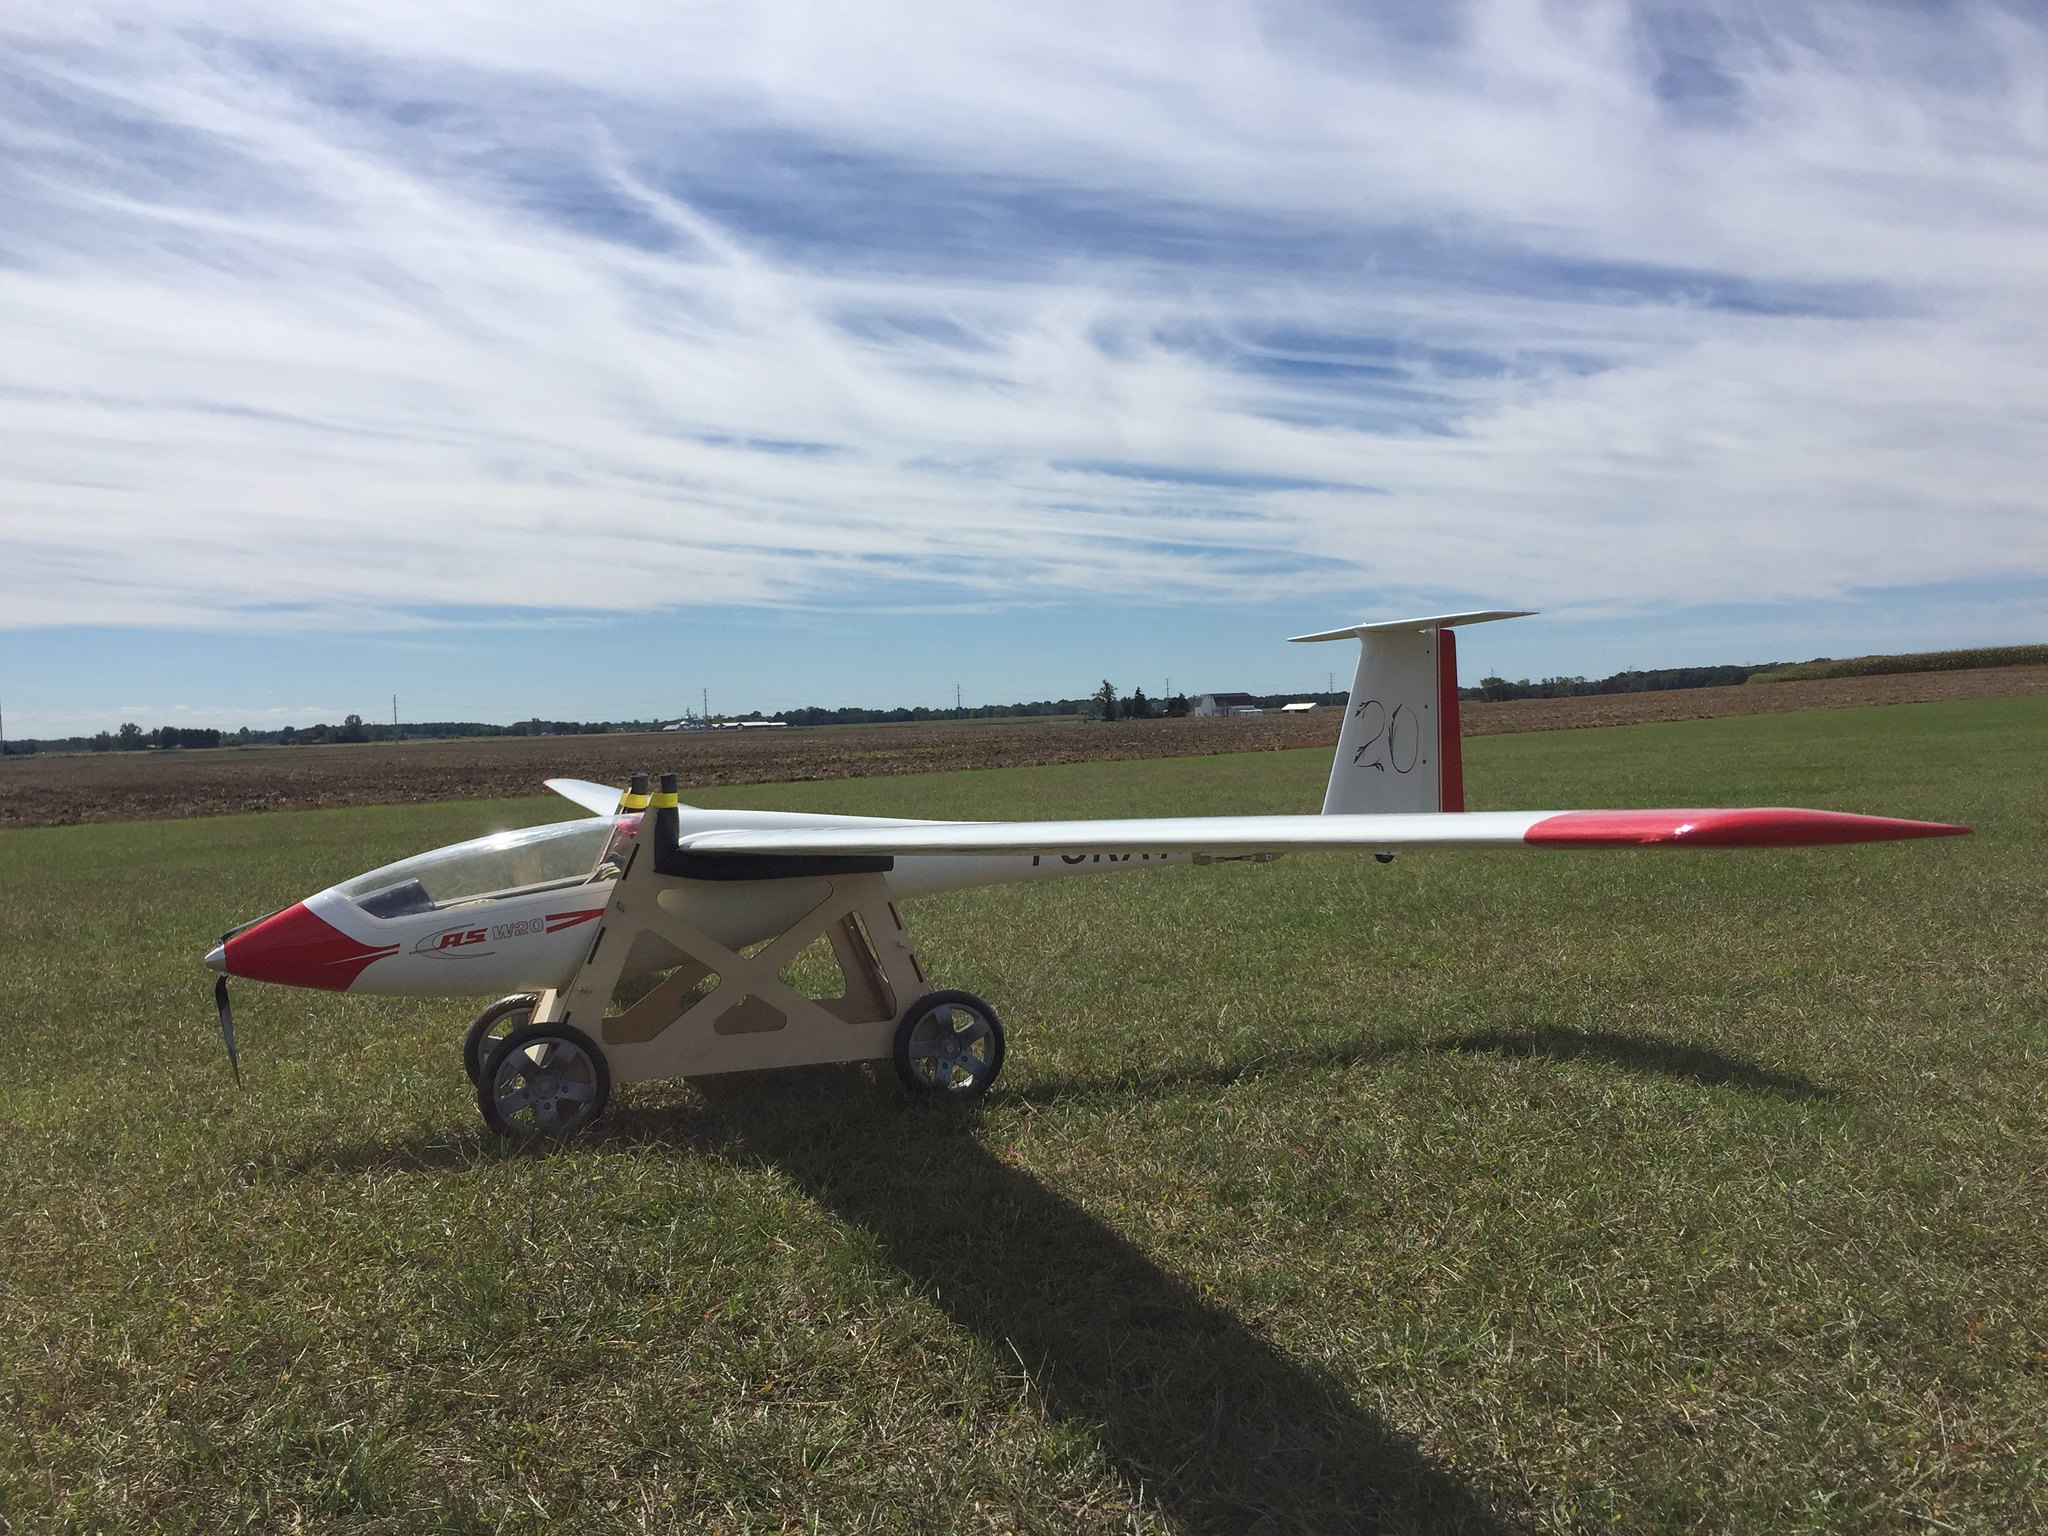
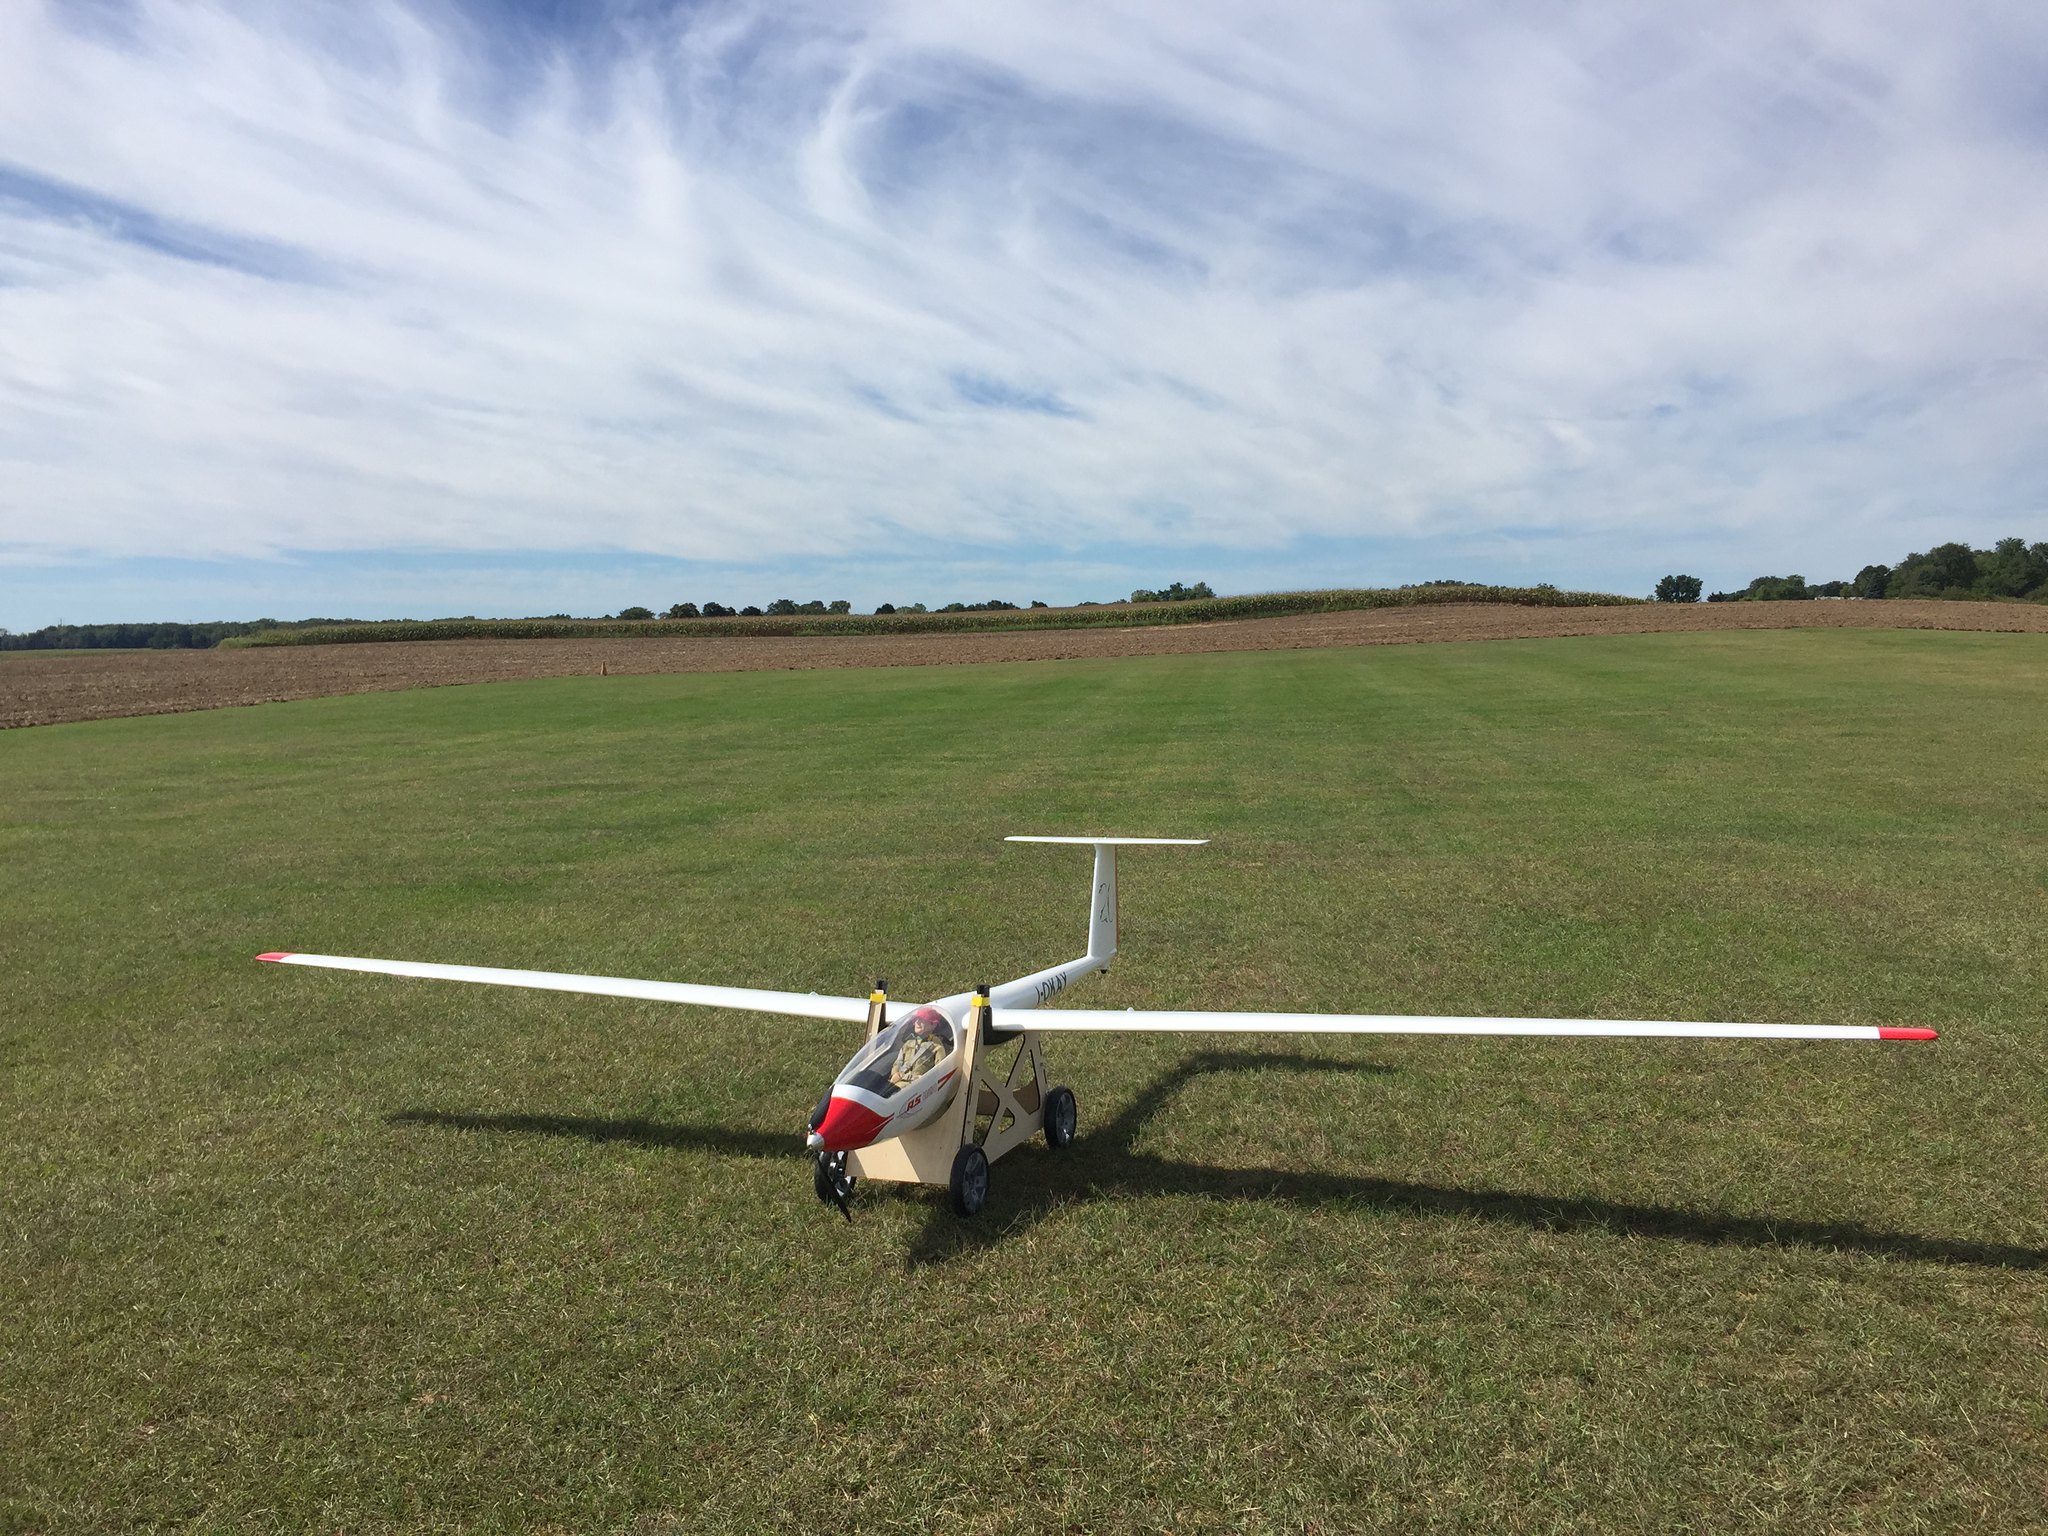
Flew my ASW20 yesterday, 75mn flight... that plane is a thermal finder... loved flying it with these condition when there is thermals but you have to find them and work them hard, great gratification to gain altitude then!
I use the dolly and let me give you an advise : be sure that the foam pad on the LE is well secured, mine was not flew away when I speed up before take off and slightly dent the LE of the wings..
Now you know an have no excuses if it happen to you!
 Untitled by steffruelle, on Flickr
 Untitled by steffruelle, on Flickr
 Untitled by steffruelle, on Flickr
 Untitled by steffruelle, on Flickr
 Untitled by steffruelle, on Flickr
Stéphane
Team Horizon
Stéphane
Horizon Hobby Team MemberComment
-
Thanks for the heads up, I will add a little thicker foam on my Dolly in that area.Comment
-
Well Guys the build continues - Yes I had difficulty with the elevator, the suggested method and material are poor at best. Modification much beter. Thought I would preview the decal set that I am placing on the bird. A Bit patriotic Hope to have some photos for you in several weeks.
Comment
-
Question: I am preparing to mount motor. Most RC Applications require a slightly down and to the right (overcome torque during flight) It appears that the instructions do not even discuss this and more importantly seem to say everything should be symetrical. Any Advise would be greatly appreciated?Comment
-
On all of my motor gliders I set everything straight and just fly it on its way to glide height. After all, most of the time I'm trying to go up as fast as possible. But if you plan to build it like a powered plane and want to do low level stunts and high speed fly-bys on the deck and pattern ship stuff, then you probably want to build in the angles.Comment
-
Guys, I am finalizing construction, performing weight and balance and installing variometer. SO I learned something very important for those running failsafe receivers I am using AR9110 and there is a special binding format for that which is unlike others. Thought I would post. Perhaps you all knew this but I did not and did several hours of studying before finding the TRICK:
You can't bind a TM1000 to a power-safe receiver the way you would with a normal receiver because the buss on the reciever, where the TM 1000 connects, isn't powered up until after the power-safe receiver completes binding.
From the Horizon website;
Binding Telemetry with Power-Safe Receivers
Spektrum Power Safe receivers like the AR9100/ AR9110, AR12100/ AR12110
and the AR7100/ AR7110 require a special binding procedure when using
telemetry modules.
Step #1 - Insert a bind plug in the bind port in the receiver.
Step #2 - Insert the telemetry modules’ Data port lead into any un-used channel
in the receiver. (Note: If all channels are being used remove any servo lead from
the receiver to allow an open servo port to be accessed).
Step #3 - Power the receiver through the EC3 connector. Note that all the
receivers (internal and remote) should be flashing indicating they are in bind
mode.
Step #4 - Using a second battery, insert the battery plug into any un-used
channel in the receiver while pressing and holding the bind button on the side of
the telemetry module. This will place the telemetry module in bind mode.
Step #5 - Make sure that the LED’s are flashing on all receivers and on the
telemetry module. Place the all channels (sticks and switches) on the transmitter
in the desired failsafe position. Now bind the transmitter to the system.
Step #6 - Remove the second battery from the receiver, remove the bind plug
and move the telemetry module connector to the bind port to allow flight log data
to be displayed.
Note: Do not leave the secondary battery plugged in for more than a few minutes
as damage to the battery can occur.Comment

Comment