
 )))))
)))))
-
Stephane yes a huge tease.....
As for the trolly (http://www.horizonhobby.com/launch-t...20-p-han495509) they are all out of stock as (they have been pulled from stock - not the correct item (in Picture) being sold) I can't find one. If you know where one is I will be glad to order. Tried with Graves as well - pulled from stock. I think there has been a mix up on products somehow.
What was the altitude on the vary - I was not able to see left hand column...
Waiting for the sun to break I want to send you all pictures, I find her to be Beautiful
Bob -
Stephane,
With your direction I have once again broke through the glass ceiling, lol Thanks again!!
I will now go completely through her and finalize all adjustments. If the weather will clear up I will get her out for her pre maiden pics. Additionally. Now I have to turn my attention to the trolley as it is not deep enough to carry bird - regardless of what esprit models says. Apparently the one recommended by horizon is not the one in the pictures which they show. Also, not big enough for the bird.
Slow going but progress being made,
Thanks Stephane!
BobLeave a comment:
-
Bob
I can send you my ASW20 file on my DX18 gen 2, you should be able to use it on your DX9 black if you have the last version of the firmware, PM me your email.
in essence :
sailplane type wings 2 ailerons 2 flaps
channel assign
1 left ail
2 Right Ail
5 right Flap
6 L flap
Channel input
7 Aux3 LLv
10 Aux5 Spoiler
Camber preset not used 0 0 0 0
Camber system input LLV
Speed / Aerobatics flap up 0 Down 100% Ailerons up 0 down -25%
Cruise / Normal flaps up 0 Down 50% Ailerons up 0 down -25%
Thermal flaps up 0 Down 25Ailerons up 0 down -25%
Mixing
Ail > flap
switch (flight mode) : switch D
Speed left -50% right -50%
cruise left 0 right0
thermal left 0 right 0
If you need clarification let me know
Stéphane
Leave a comment:
-
Question for all (especially Stephane): I wish to program mix so that my trailing edge is full flying in the down mode
I have been on the phone with Horizon today asking them about programing MIX in my DX9 Black. I want to program in my acrobatic mode a flap/aileron mix. Horizon has yet to tell me how although they are still working issue. I wish to program mix so that my trailing edge is full flying in the down mode (as you all know, there is no upward movement on the flaps on this bird) Stephane ---> I know you have done this but I nor Horizon have been able to identify how.
My quest continues, any words of wisdom would be greatly appreciated.......
Thanks
BobRLeave a comment:
-
[ATTACH=CONFIG]n4495[/ATTACH]
OK Gentleman, I am nearing the time to put her in the air.Attached FilesLeave a comment:
-
-
I am not using elevator mix with the flaps, but I do not put them down that much... I did not noticed a tendency for the plane to balloon when flaps are deployed, but I am using mainly spoilers on landing
For the ailerons, throws are not excessive if you want to do a bit of aerobatics, I even coupled the flaps to the ailerons to have more authority (ailerons down -> flap down as the flaps don't move up...)
Anybody has other views on this?
Stéphane
Leave a comment:
-
Question: with the recommended landing flaps has anyone mixed in any elevator, if so how much? The recommended Aileron throws seem to be excessive, any comments?Leave a comment:
-
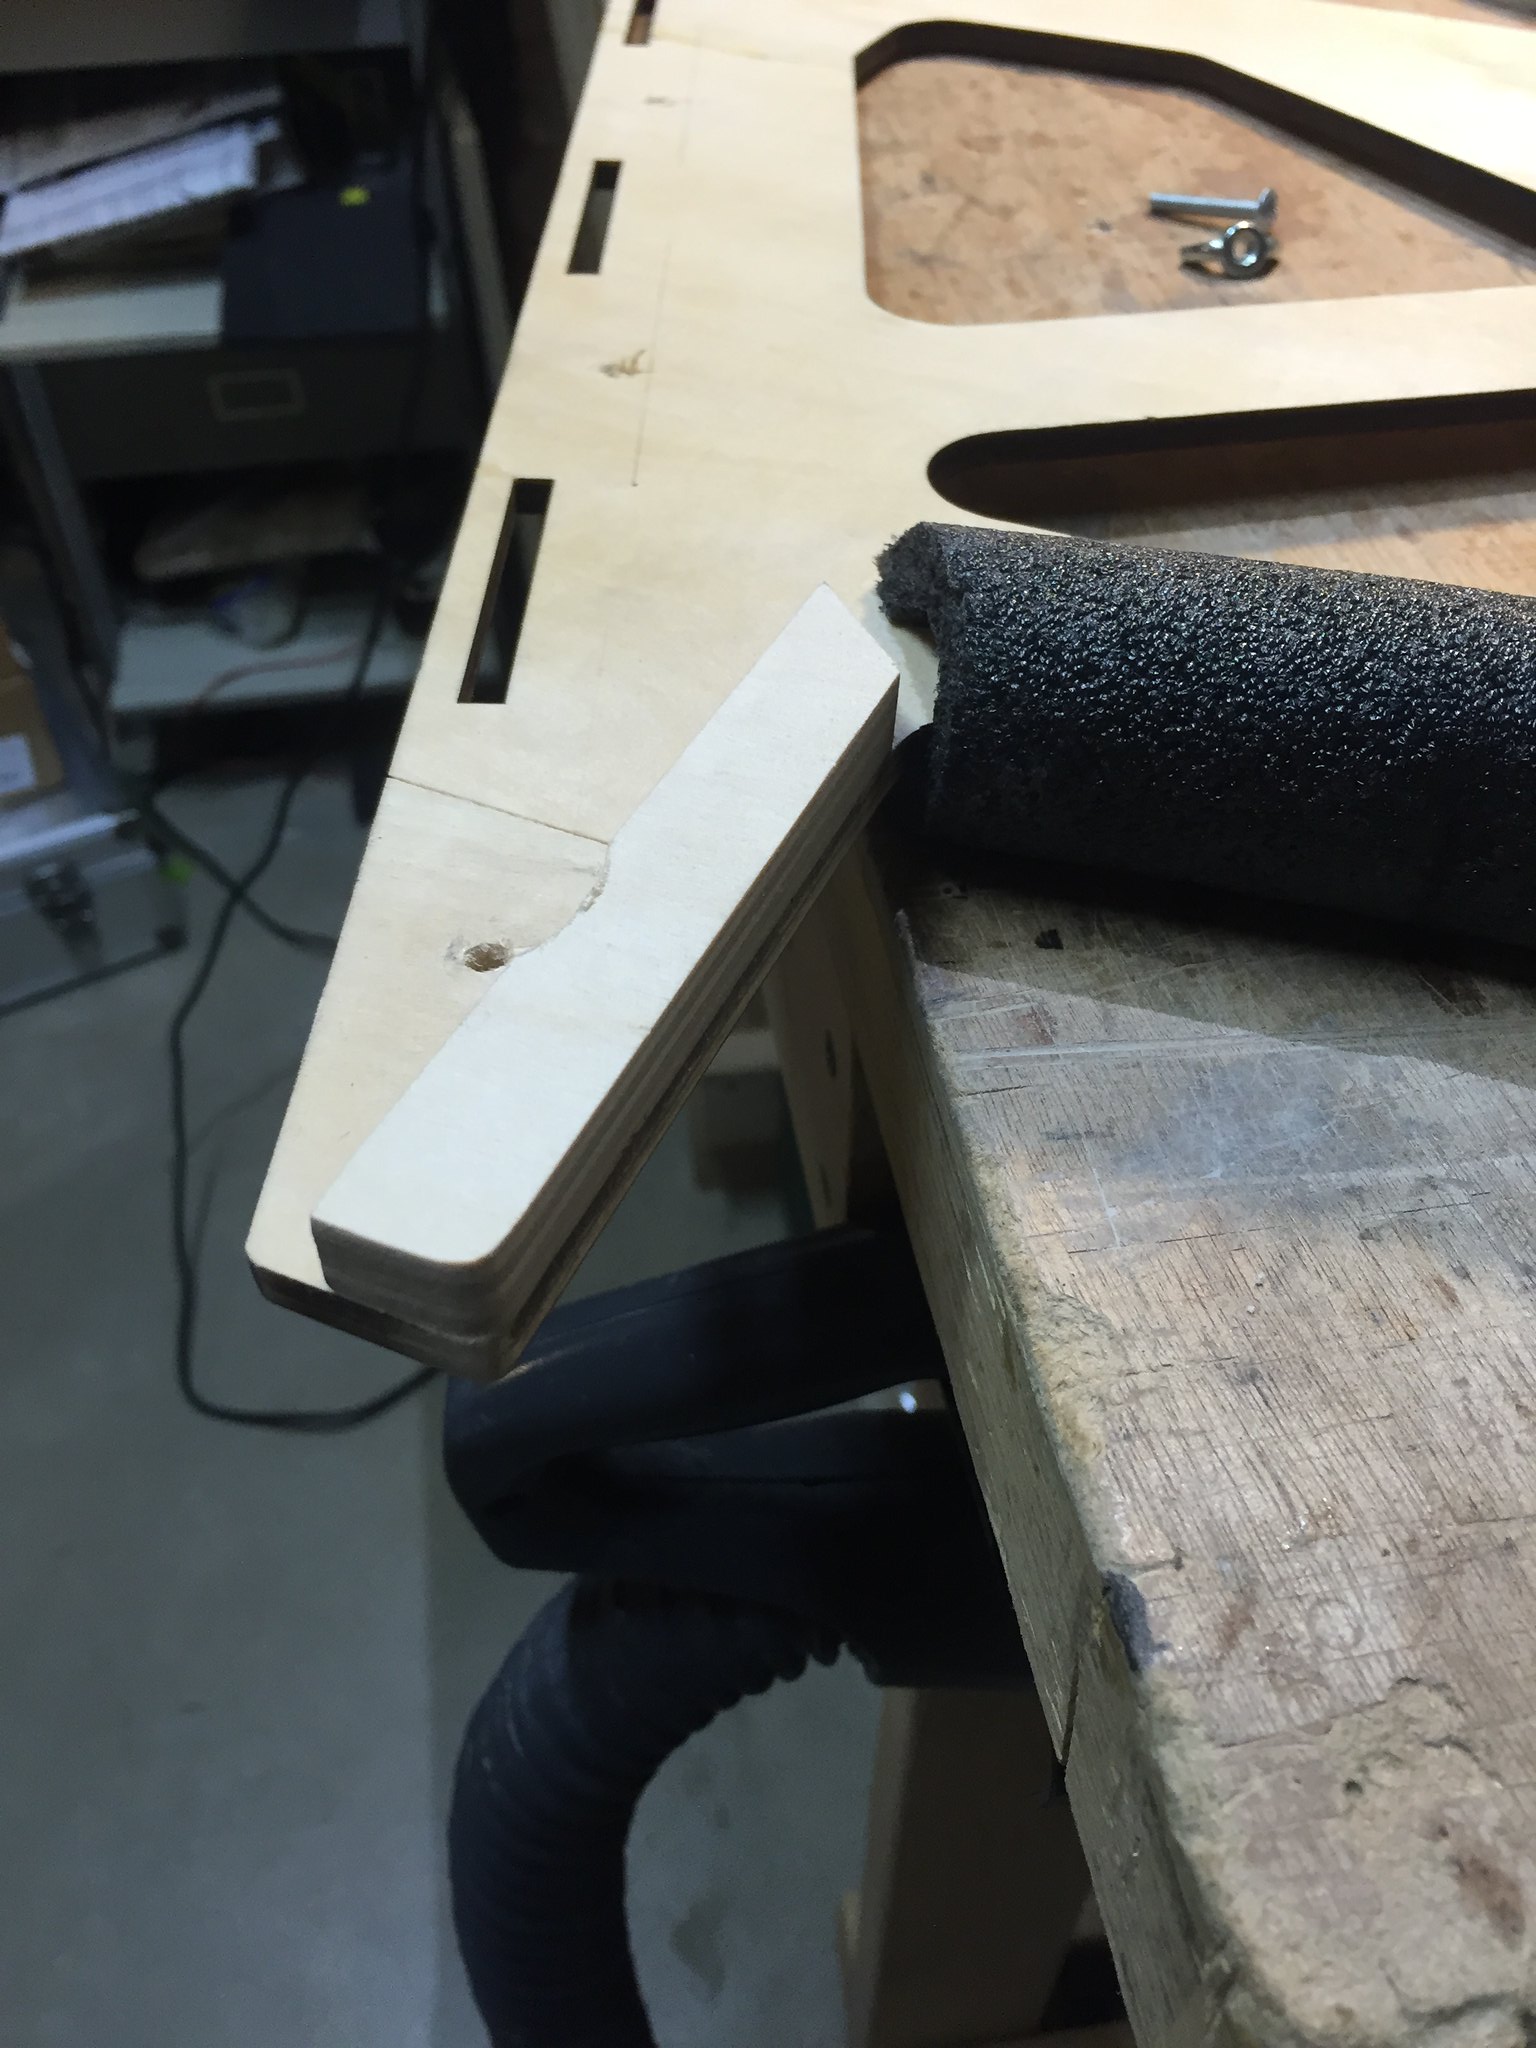
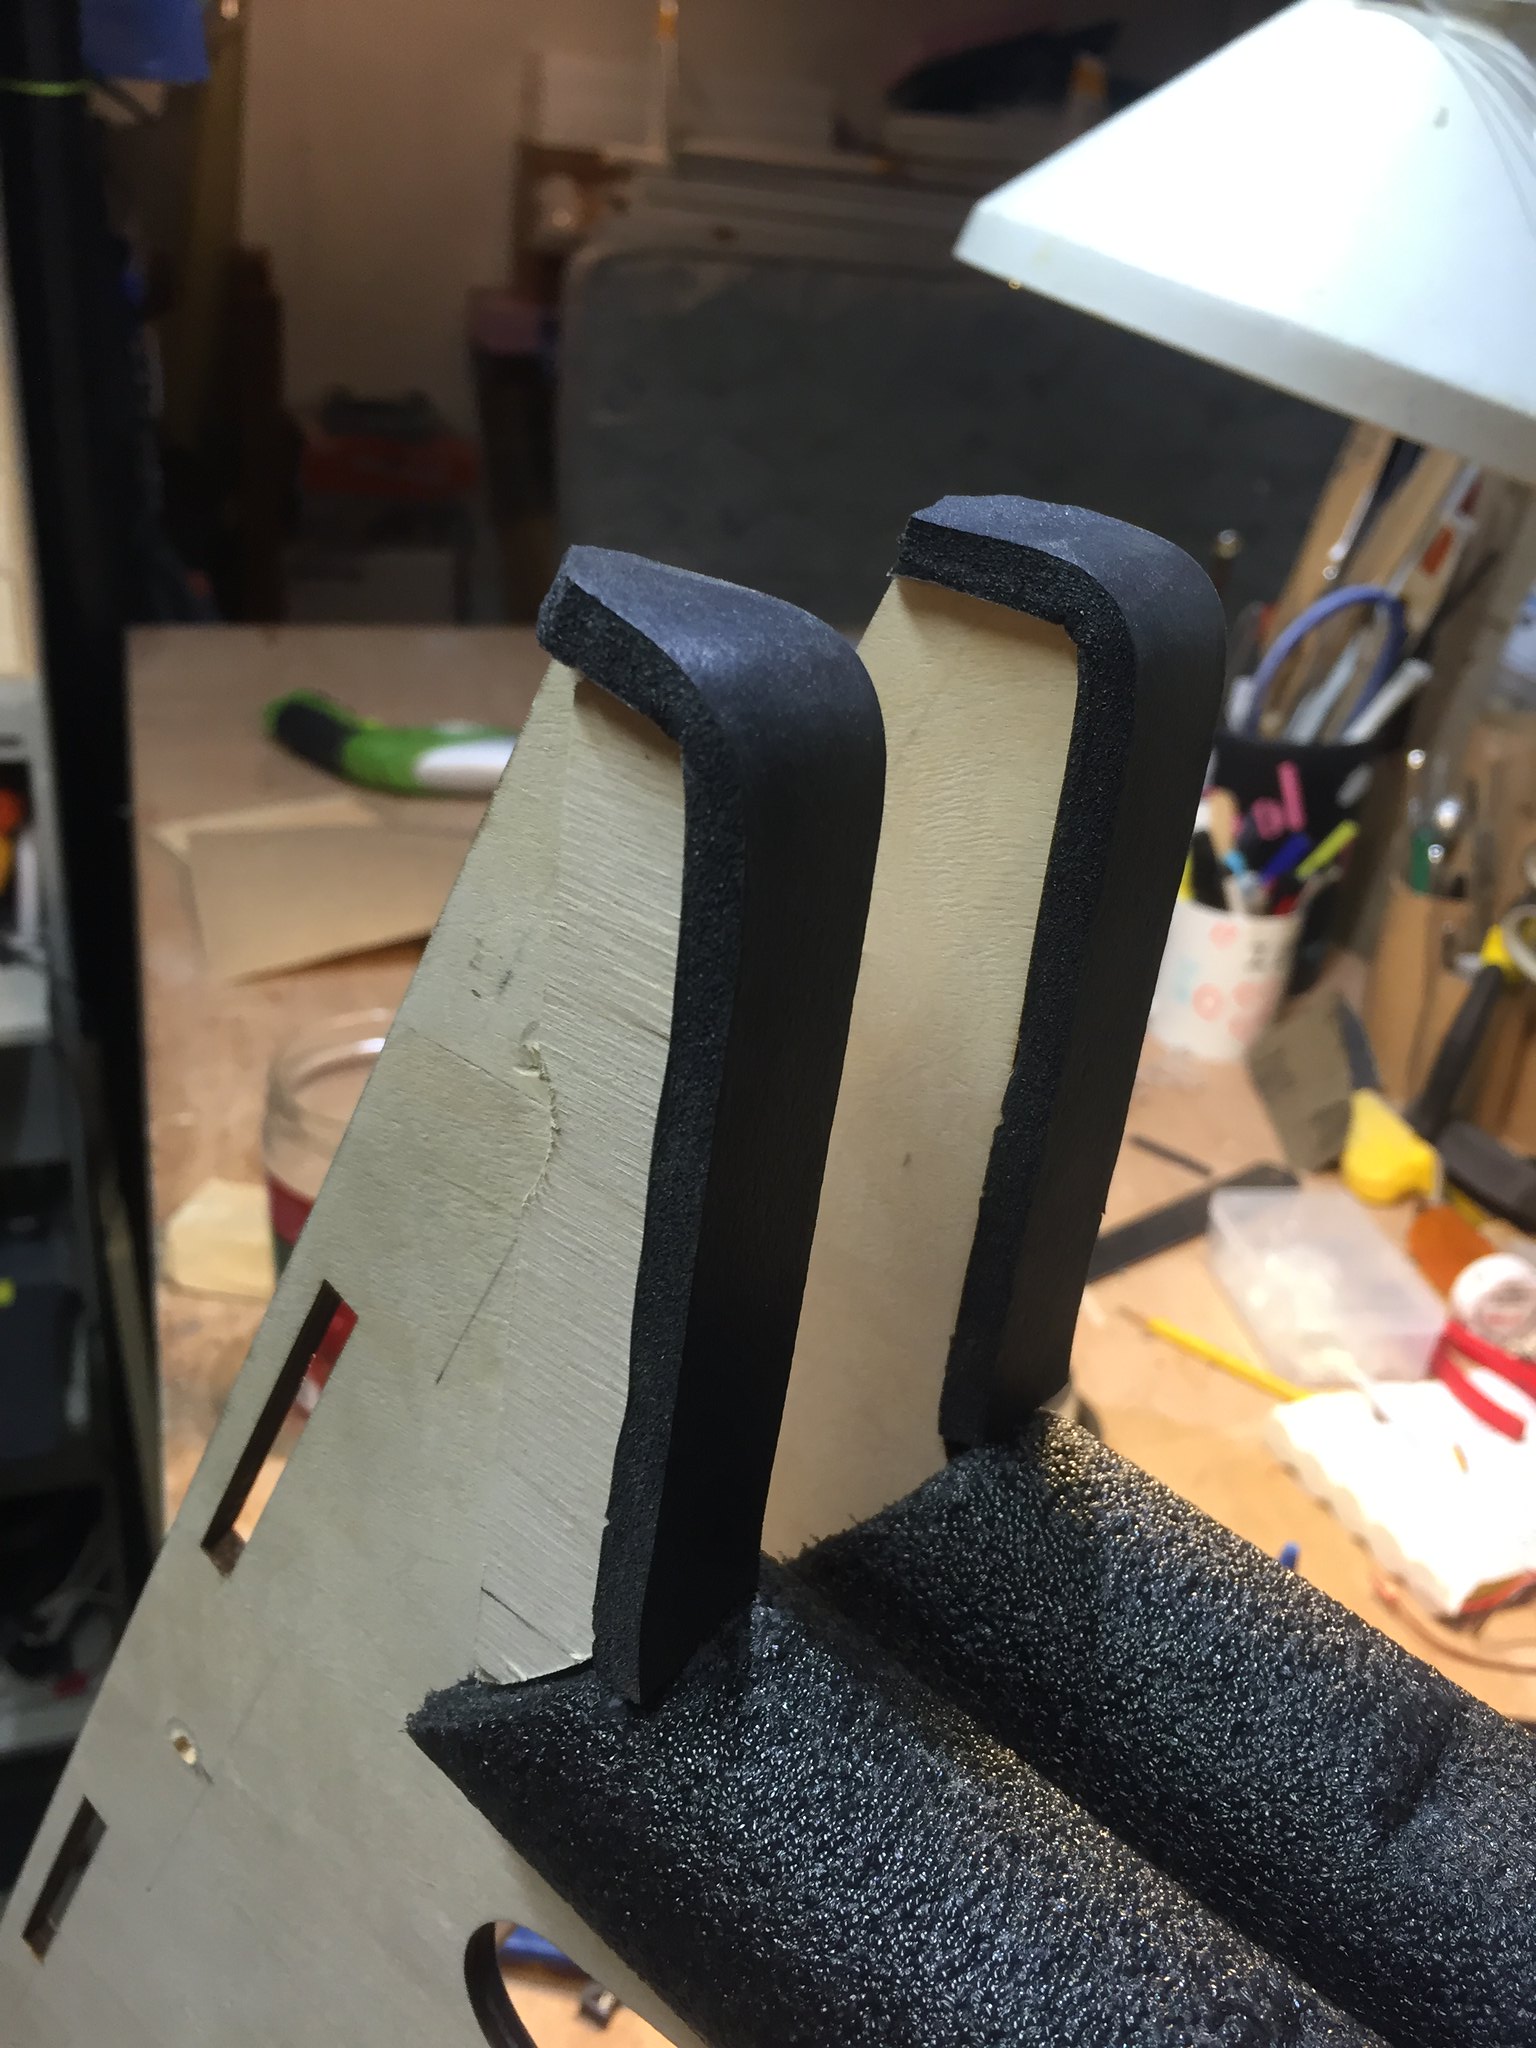
I did remodel the trolley, as the insulation pipe on the vertical part either fly away during take off or prevent the trolley to be dismounted as there is too much tape...
I doubled up the vertical part with a pieces of plywood and glued over some insulation foam for doors, look to be very satisfactory, I should test this soon
 Untitled by steffruelle, on Flickr
 Untitled by steffruelle, on Flickr
StéphaneLeave a comment:
-
Guys, I am finalizing construction, performing weight and balance and installing variometer. SO I learned something very important for those running failsafe receivers I am using AR9110 and there is a special binding format for that which is unlike others. Thought I would post. Perhaps you all knew this but I did not and did several hours of studying before finding the TRICK:
You can't bind a TM1000 to a power-safe receiver the way you would with a normal receiver because the buss on the reciever, where the TM 1000 connects, isn't powered up until after the power-safe receiver completes binding.
From the Horizon website;
Binding Telemetry with Power-Safe Receivers
Spektrum Power Safe receivers like the AR9100/ AR9110, AR12100/ AR12110
and the AR7100/ AR7110 require a special binding procedure when using
telemetry modules.
Step #1 - Insert a bind plug in the bind port in the receiver.
Step #2 - Insert the telemetry modules’ Data port lead into any un-used channel
in the receiver. (Note: If all channels are being used remove any servo lead from
the receiver to allow an open servo port to be accessed).
Step #3 - Power the receiver through the EC3 connector. Note that all the
receivers (internal and remote) should be flashing indicating they are in bind
mode.
Step #4 - Using a second battery, insert the battery plug into any un-used
channel in the receiver while pressing and holding the bind button on the side of
the telemetry module. This will place the telemetry module in bind mode.
Step #5 - Make sure that the LED’s are flashing on all receivers and on the
telemetry module. Place the all channels (sticks and switches) on the transmitter
in the desired failsafe position. Now bind the transmitter to the system.
Step #6 - Remove the second battery from the receiver, remove the bind plug
and move the telemetry module connector to the bind port to allow flight log data
to be displayed.
Note: Do not leave the secondary battery plugged in for more than a few minutes
as damage to the battery can occur.Leave a comment:
-
On all of my motor gliders I set everything straight and just fly it on its way to glide height. After all, most of the time I'm trying to go up as fast as possible. But if you plan to build it like a powered plane and want to do low level stunts and high speed fly-bys on the deck and pattern ship stuff, then you probably want to build in the angles.Leave a comment:
Leave a comment: