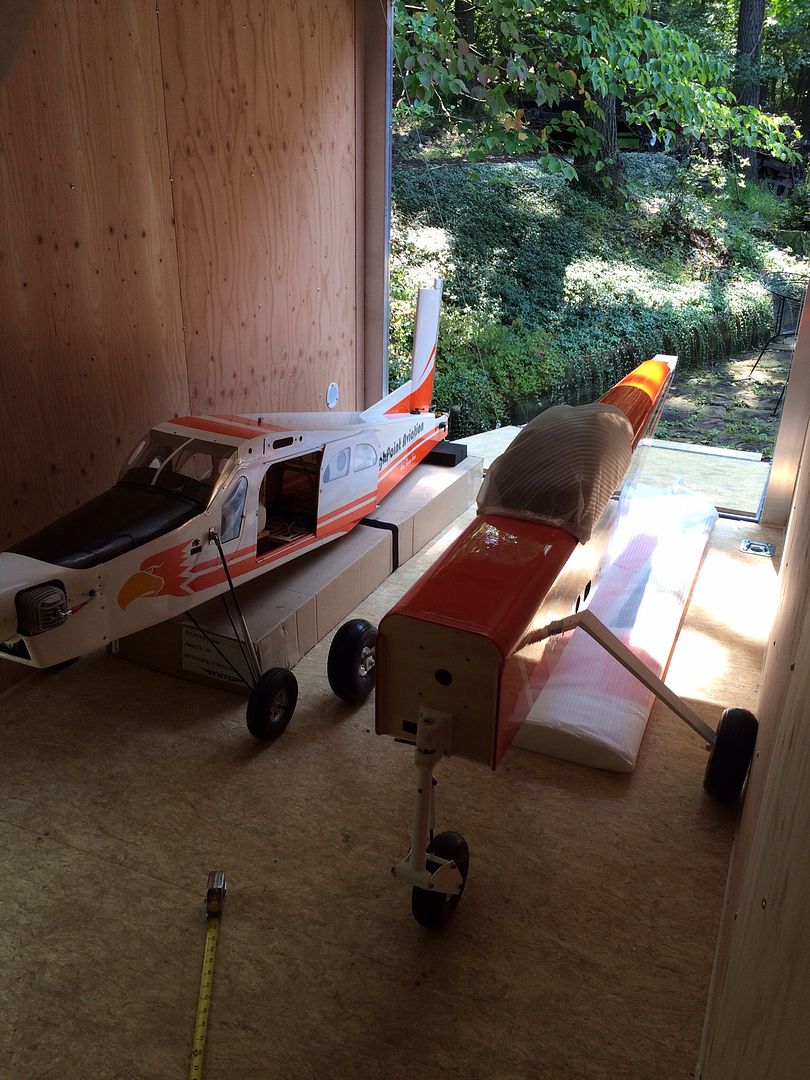
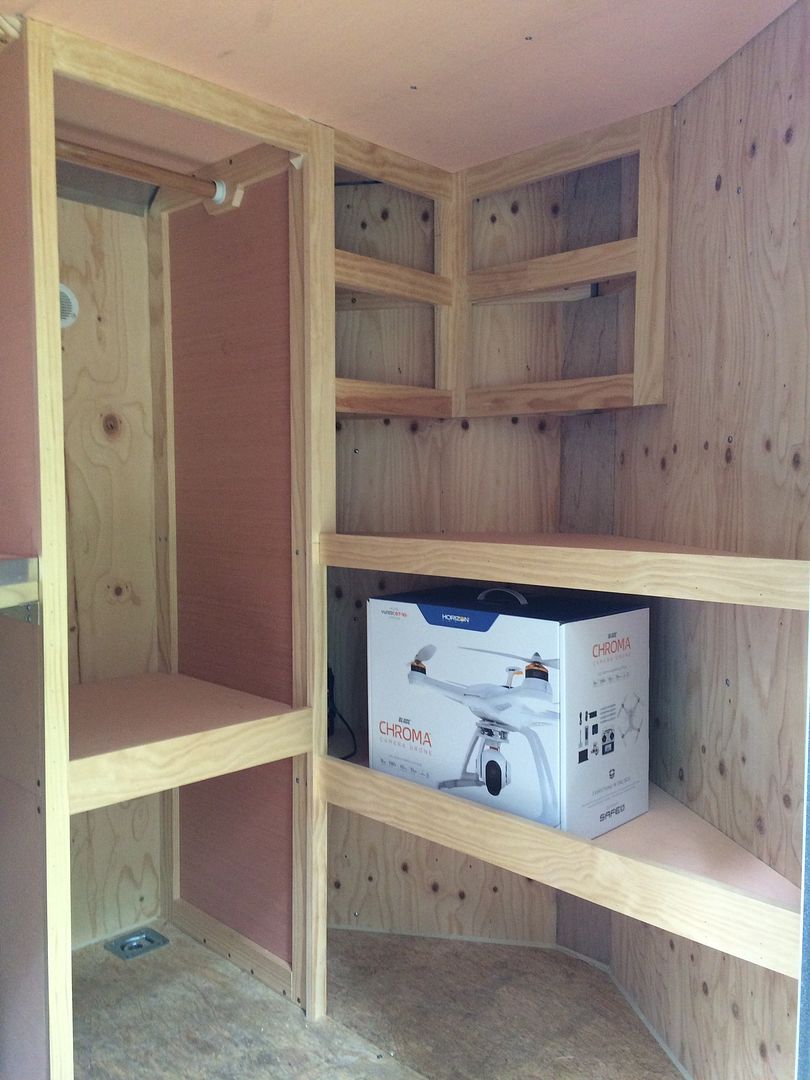
We spent most of today putting planes and equipment in the trailer to see how things naturally want to fit. After hours of measuring and experimenting, we sat down with pen, paper, and ruler and sketched out plans, made a materials list, and finally devised a work order outline. Now the fun begins!
Announcement
Collapse
No announcement yet.
The perfect trailer for an aerotowing enthusiast
Collapse
X
-
Originally posted by Charlie View PostLooks great Jim!
The new deck paints that are on the market make a nice looking floor!
Tom did His but used the wrong color.LOL
Charlie
I am thinking light gray on the floor and ramp (plus add anti slip strips on the ramp) and white on the walls. Then some of those LED lights like Jeremy put in his trailer and I can turn those white walls any color I want them!A Site for Soar Eyes
Comment
-
The used RC model trailer I bought, came with indoor/outdoor carpet squares. I want something easier to keep clean. I'd rather paint or try something like this flooring from Home Depot and other places. Not cheap...but you'd end up with a one piece, waterproof floor covering. If you wrapped it up the side a bit you could hose the trailer out! You'd want to make sure and cut it right the first time,
Comment
-
The first step on my order of work was the installation of the solar panel. Drilling holes in your roof is always a risk...we used neoprene fused washers above and below the roof sheet aluminum so hopefully they will seal each hole sufficiently. The wire was routed through the roof using a water tight PVC conduit fitting. It was sealed with rain spout joint adhesive.
We used foil bubble insulation to insulate the roof before installing the interior roof panels. The insulation was bent into a "C" cross section and held in place with foil tape.
We bought 5mm thick RevolutionPly and it was slipped between the roof trusses and the aluminum crown moulding and then screwed to the roof trusses....sorry, didn't get a picture of that step yet.A Site for Soar Eyes
Comment
-
Comment