
I first lightly sanded the front and back of the pocket so the servo would fit in the slot. Then dremeled out the pookie on the front elevator hold down just enough so the servo spline shaft would clear and it dropped right in, wire end of servo first so you can tuck the wires under the mounting edge before dropping in the rear end. They really aren't needed but I used the rubber grommets and Dubro hex drive servo screws. I ran a small round file in from the rear to open the left side of the rear elevator hold down pookie for the elevator pushrod to clear.
At least that's how I got mine in. Snug as a bug.
-
That servo doesn't want to go in easily. I tried every way that I could think of. I ended up grinding a little bit and it finally went in. I don't remember the sequence but I do remember that I dropped the servo inside about fifteen times. Maybe more.Leave a comment:
-
Has anyone else had issues getting the elevator servo in? Mine does not fit through the top of the fin. Theres are some pretty large globs of resin where the stab bolts go, thinking I can grind some of that away but am worried about the bolt not having as much to bite into.


Leave a comment:
-
Bryan, I didn't install them on mine. I don't plan on flying from blacktop but if I do, I will glue them on. -
Got an opinion question:
What's everyone's thoughts on installing the wingtip wheels? I'm going straight sailplane and fly off mostly grass. What do you think would be more prone to catching a wingtip in vegetation? The wheel or the curve of the winglet? If I were going with the powered model and/or fly off asphalt or concrete the decision would be easy. The only negative of installing them is drag but does this outweigh potential damage to the wingtip or would it make it more prone to catching on something? Things I've been pondering,,,,,
BBLeave a comment:
-
I asked about the "florescent" orange awhile back and was informed it was "Safety" orange. I haven't got after it yet. I want to just get it up flying before I start experimenting with different solvents. I really don't want to have to sand it all off but with a repaint there's going to be much sanding/primer/sanding anyway. Maybe I'll start with the bottom of one of the wingtips......... -
Has anyone successfully removed the florescent sticker on the nose and rudder?Leave a comment:
-
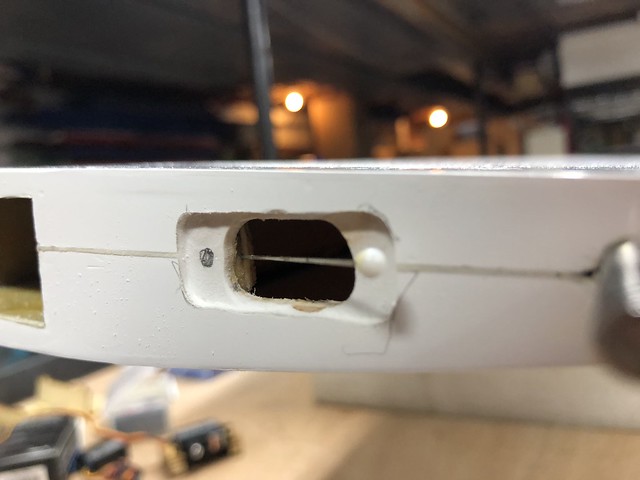
I used a S6270 servo for the tow release because I just happened to have one in my stock but it is no longer available. I also drilled out the hole the tow release rod goes through and inserted an oversized brass tube. The rod seems to slide with much less friction in the brass tube than it did in the wood.
I elongated the hole that the tow loop goes into to make it an oval. I then filled in the space between the wood and the bottom of the fuse with epoxy and cabosil and extended the oval hole out the bottom. This provides one continuous oval hole for the tow loop to pass through.
Leave a comment:
-
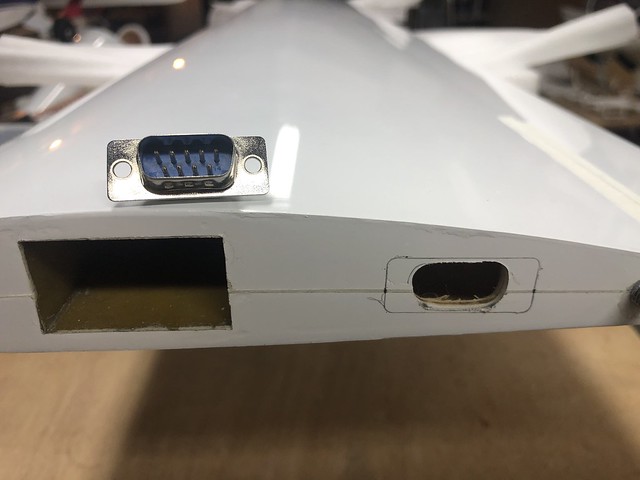
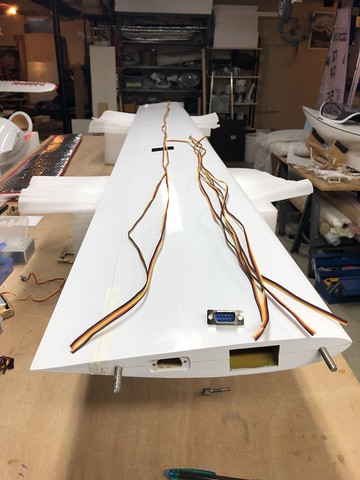
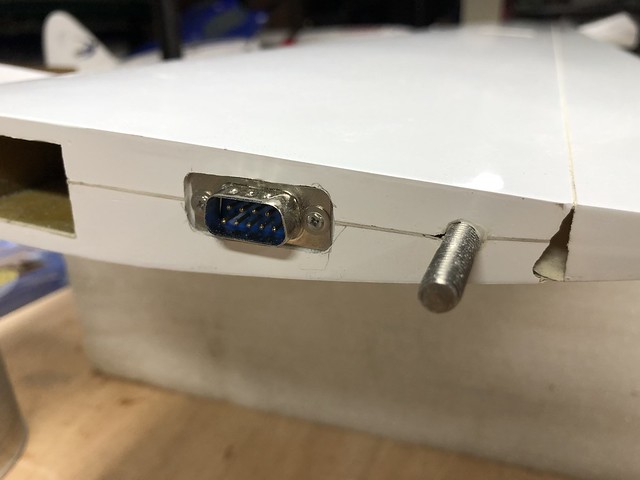
I have used the Multiplex 6 pin and a servo connector. On the fuselage side the connectors are epoxied into a fixture that is bolted to the fuse. This allows the harness to be removed. On the wing side, the connectors are loose but contained in a box so that they cannot fall into the wing. The box must be securely attached to the wing root. I used epoxy on my ASW 22 but I am going to try tape on the ASH 31.
Last edited by RickS; 01-17-2019, 11:38 PM.Leave a comment:
-
I guess you are not hard mounting the female side in the fuselage, as the bulkhead is a little to close! I was going to use them on Labords ASH but there is no room to mount the female side on springs so they can flex!Originally posted by French1 View Post
Jeremy
SCC AAA TT TN
Leave a comment:
-
That is correct, Steve! I just buy longer leads to got between these connectors and the servos. If I feel more ambitious then I will cut one of those 3" ones and solder needed length of wire between the ends. The main thing is to not to have to fiddle with those crimp thingies!
Leave a comment: