Aluminum attachment plate with 6-32 hardware.
Fits perfect with good clearance all around. Hope it works!

 Sans titre by steffruelle, sur Flickr
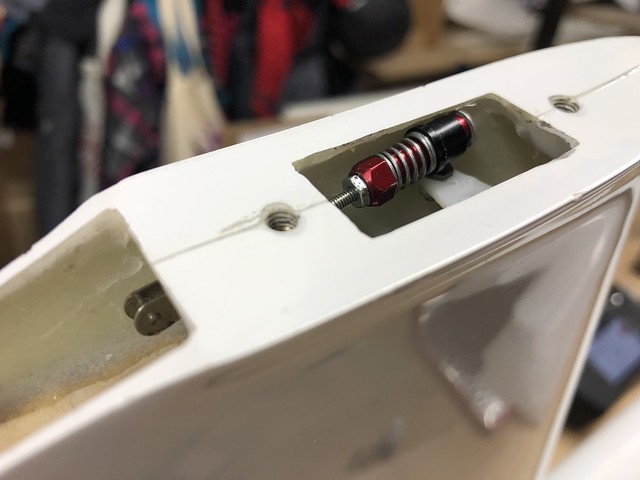 Sans titre by steffruelle, sur Flickr
 Sans titre by steffruelle, sur Flickr
 Sans titre by steffruelle, sur Flickr
 Sans titre by steffruelle, sur Flickr

 AAA TT TN
 Sans titre by steffruelle, sur Flickr
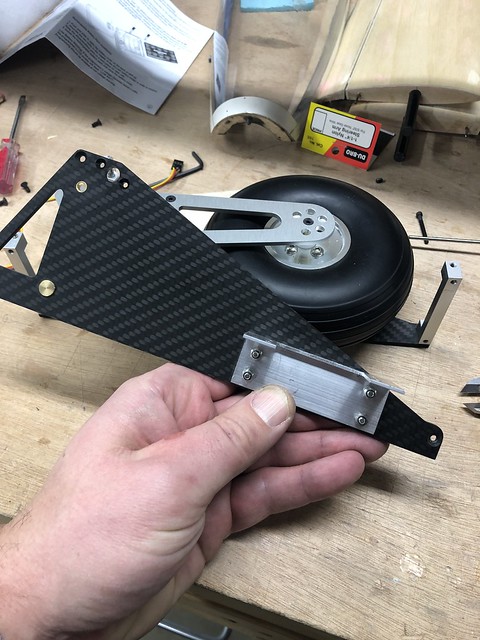 Sans titre by steffruelle, sur Flickr
 Sans titre by steffruelle, sur Flickr
 Sans titre by steffruelle, sur Flickr
 Sans titre by steffruelle, sur Flickr
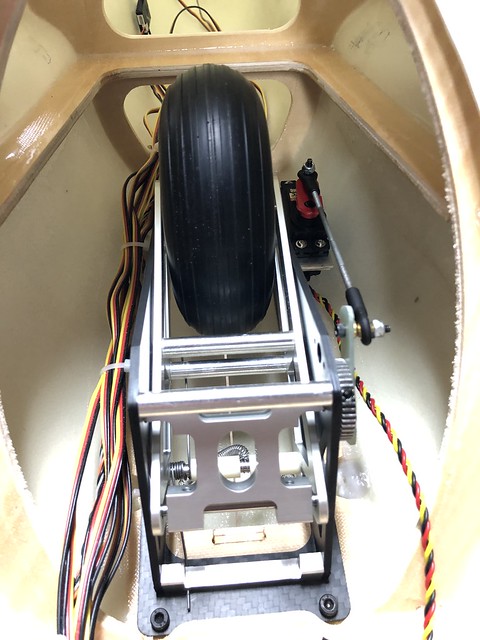 Sans titre by steffruelle, sur Flickr
Leave a comment: