
-
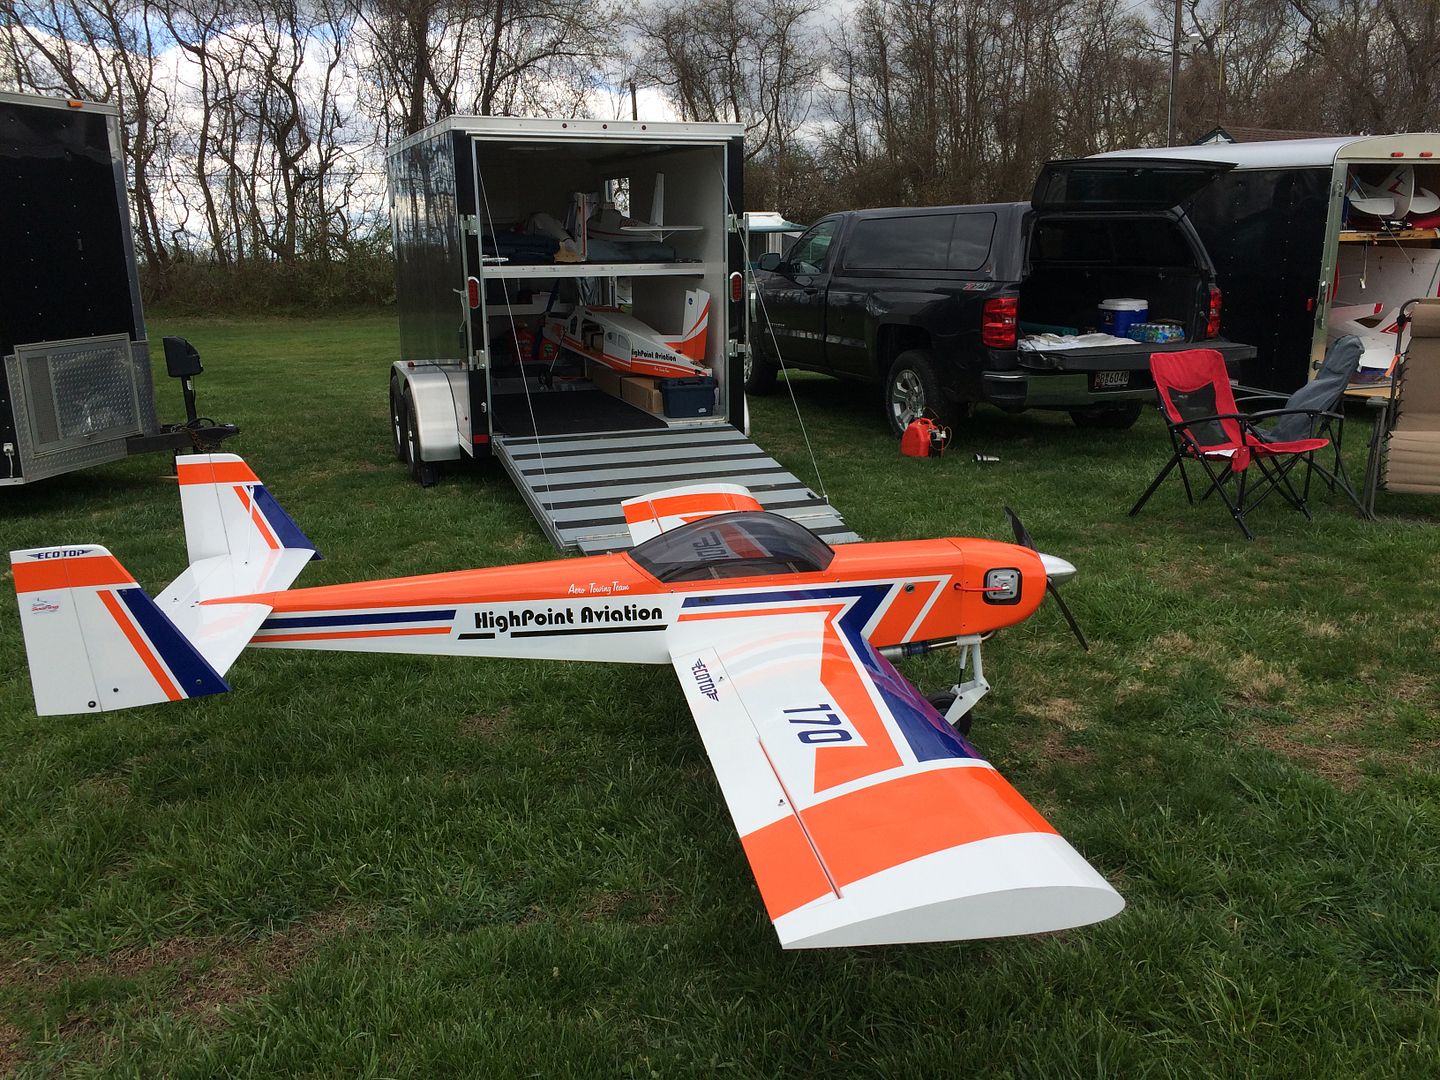
We got the fuselage sides closed back up and ornage and blue stripes reapplied...now it's time for our new "Scale Soaring.com" Graphics from Callie Graphics to be applied!

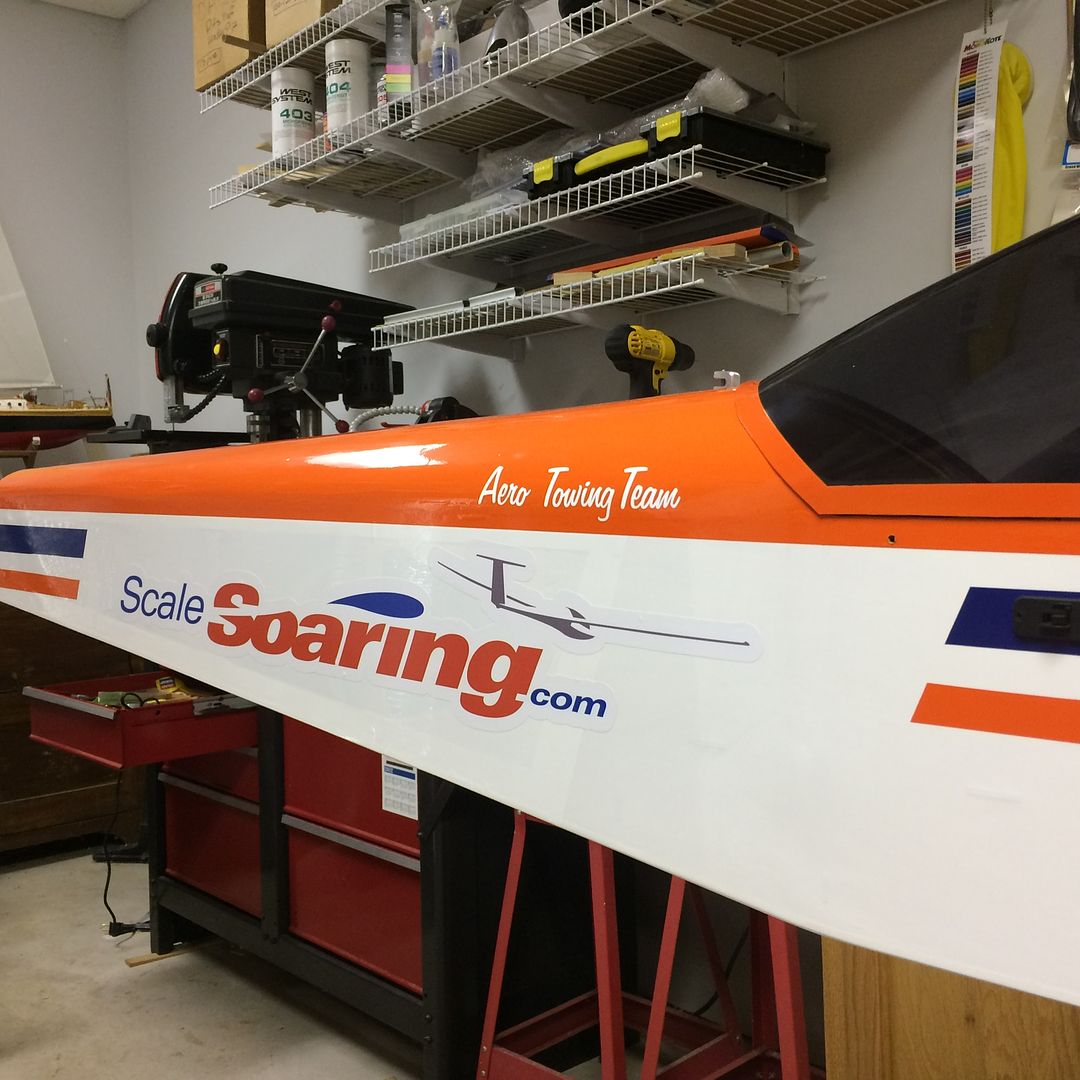
Len had ordered similar decals for general use in both a larger and smaller size then these, so I asked if she could make an in-between size...usually great Callie answer was "no problem' will get them right out to you!"
Some time back, I had her make the script style logo that says "Aero Towing Team" and used it on my Porters. If you would like to copy the concept, please feel free to do so. If you tell Callie you want the graphics like I got, she will make them. Kevin K got her to do some for his Pawnee last fall.Leave a comment:
-
Hi Tim,
Actually, I purchased the canisters and mounts from Len when he converted his ZDZ-180 powered Bidule 170 to the canister system available from ZDZ USA.
However, high temperature silicon tubing is available from McMaster Carr: https://www.mcmaster.com/#standard-h...ubing/=16r3kp5Leave a comment:
-
Hey Jim, very nice changes to your Bidule! On post 16, where did you get the silicone tubing for your comfort mounts? I'm running into the same problem with my Bidule build where the mounts are bigger than the canisters and smaller mounts just are not made. I was going to just shim the mounts but if I'm seeing it right, it looks like you slid the silicone over the straps to take up the slack?
TimLeave a comment:
-
Fabricated parts for a removable fuel tank support for DuBro 100oz tank.
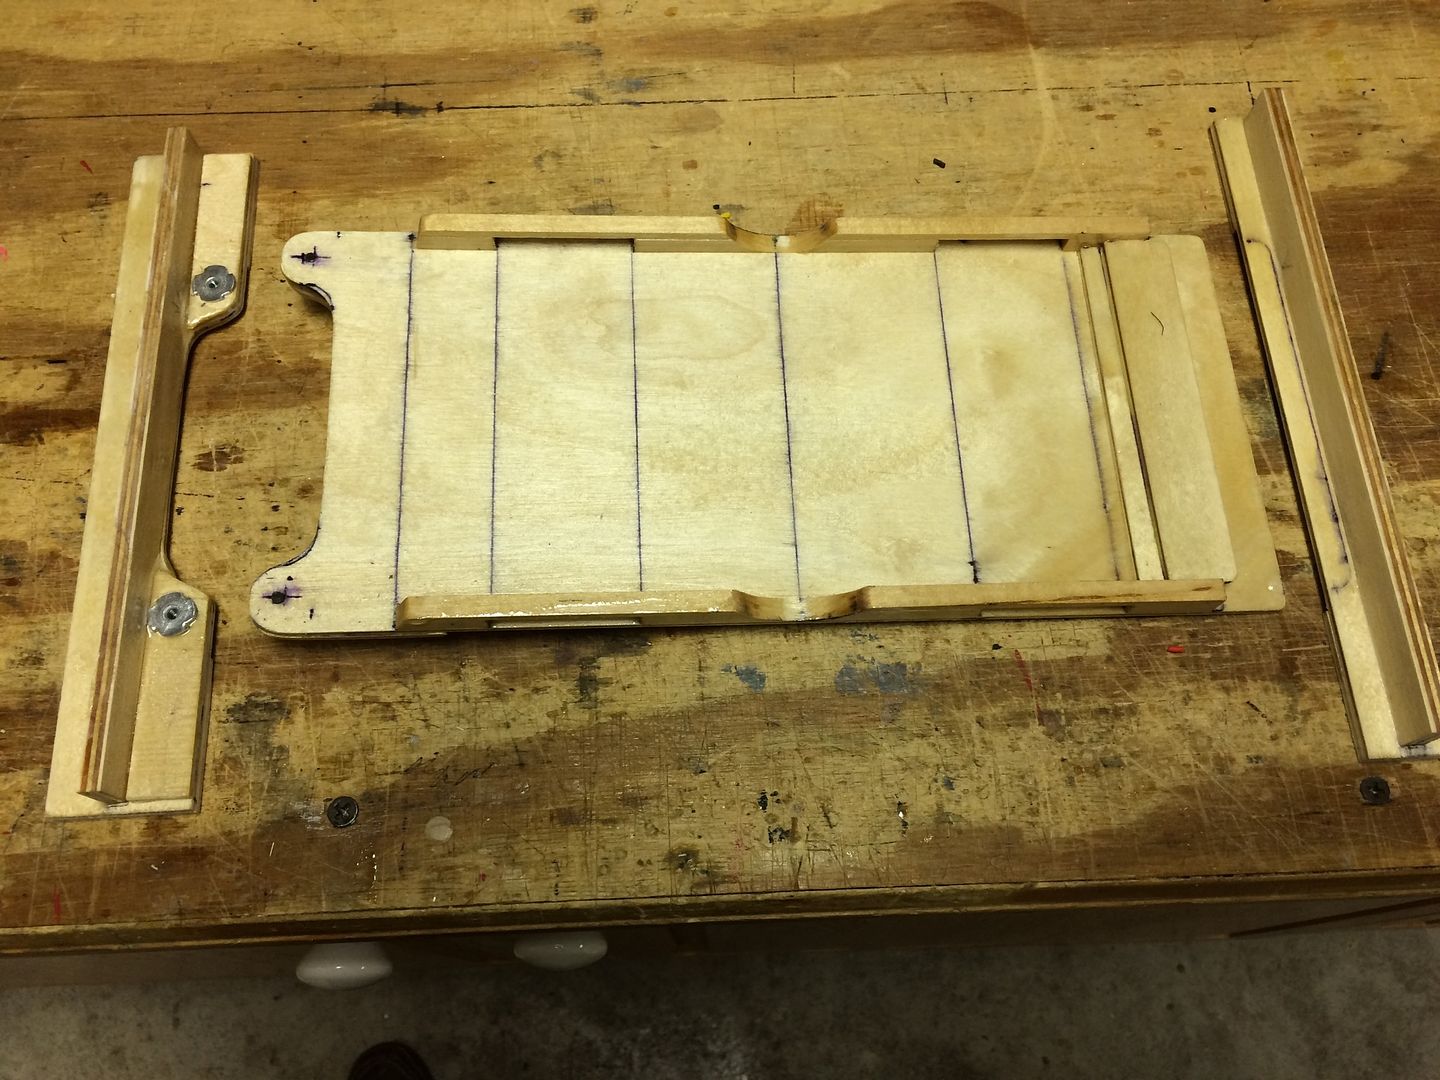
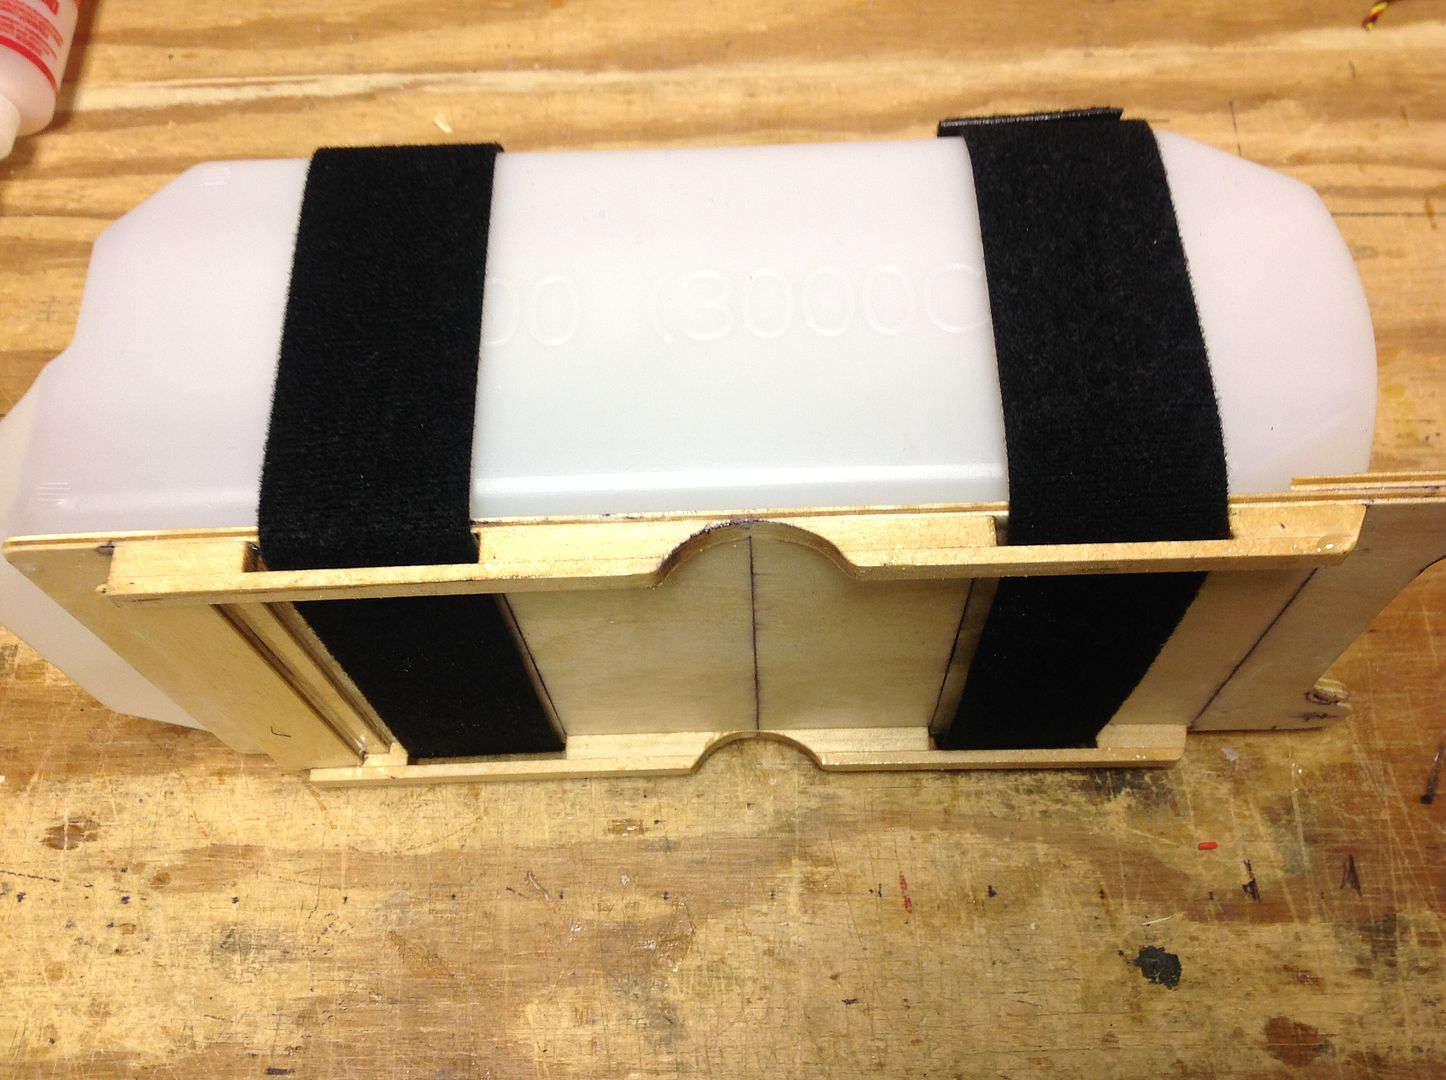
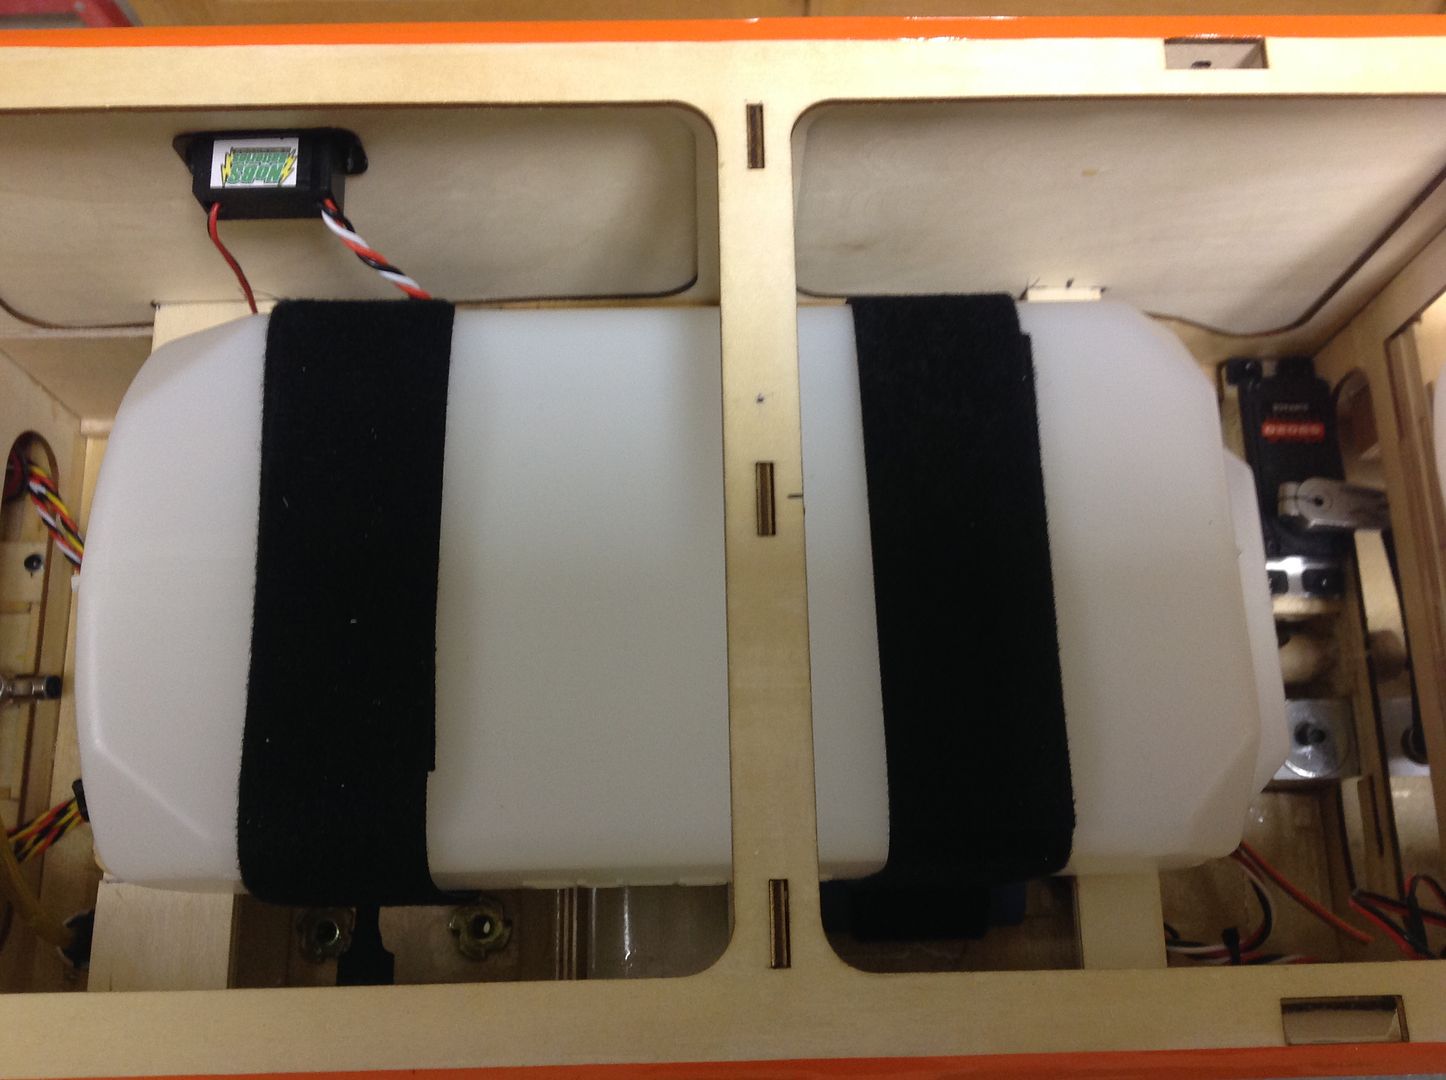
Fuel tank is centered on the CG so fuel depletion does not change balance point.Leave a comment:
-
Jim, go with DOT5 fluid for the brake from the getgo, You will find it so much more user friendly. I'm going to switch my existing Bidule over to it this Spring and build my second Bidule with it also. I used DOT5 fluid in many antique car restorations and it is nice to have a brake fluid that you can about polish the car with instead of one that removes most every coating!! Really like the separate component install on the servo saver. So much easier. Have you had to change out the steering servo since installed the Spektrum one? Looking forward to flying 3 Bidules in formation this year, but I get to fly lead, we can stick Len in the middle!!.Leave a comment:
-
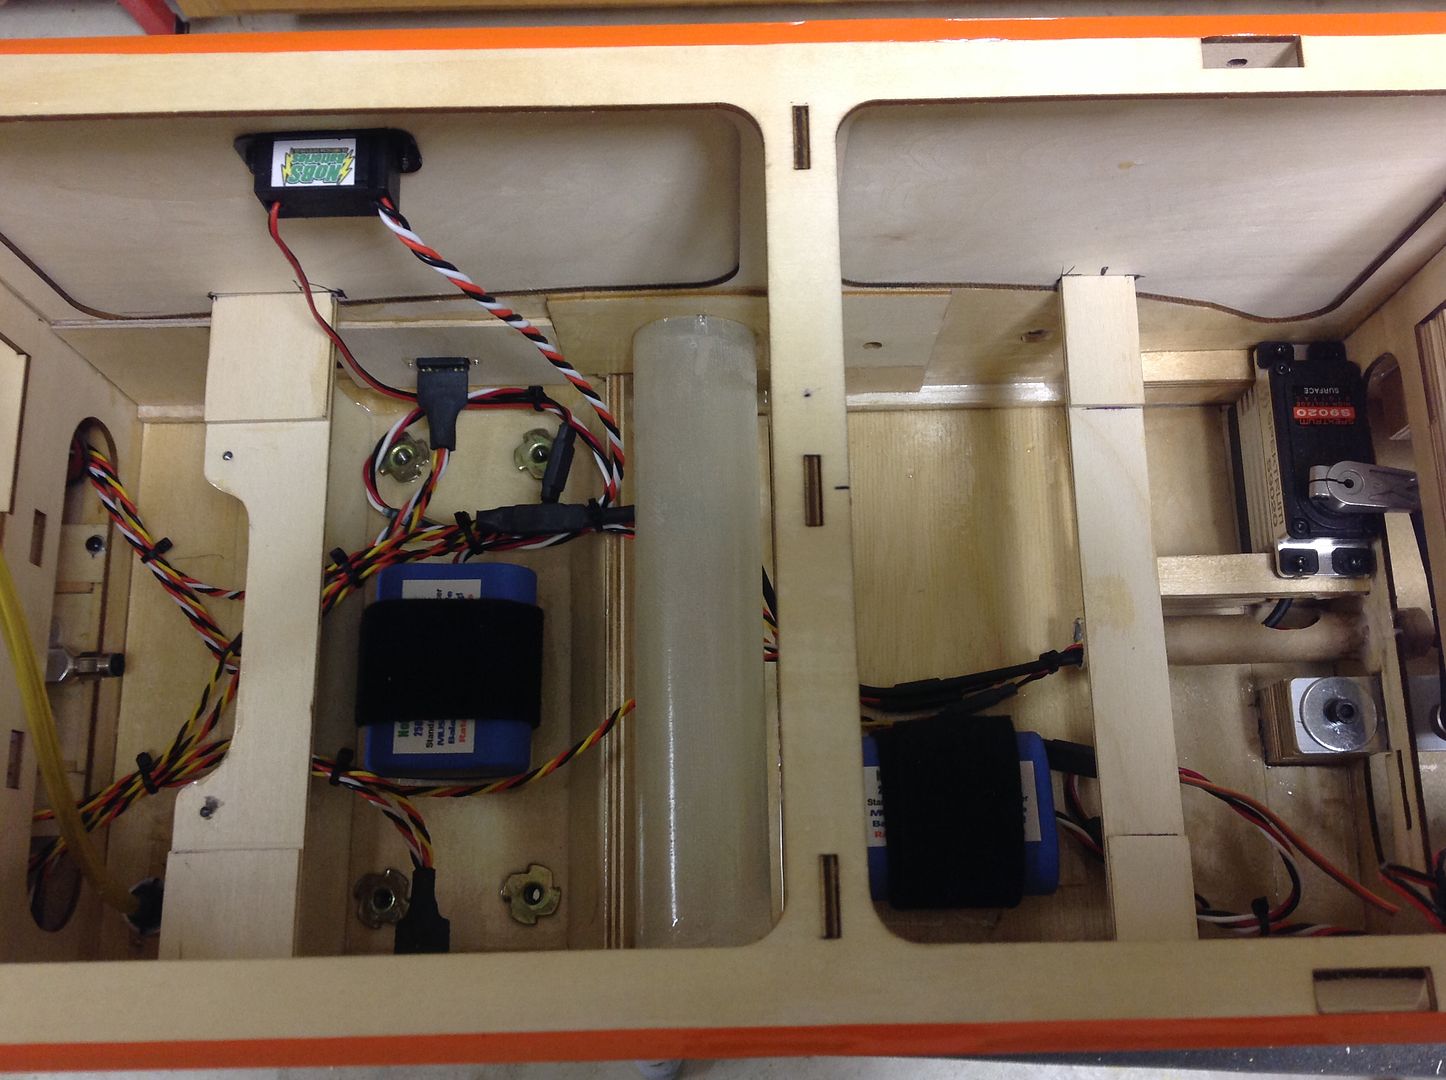
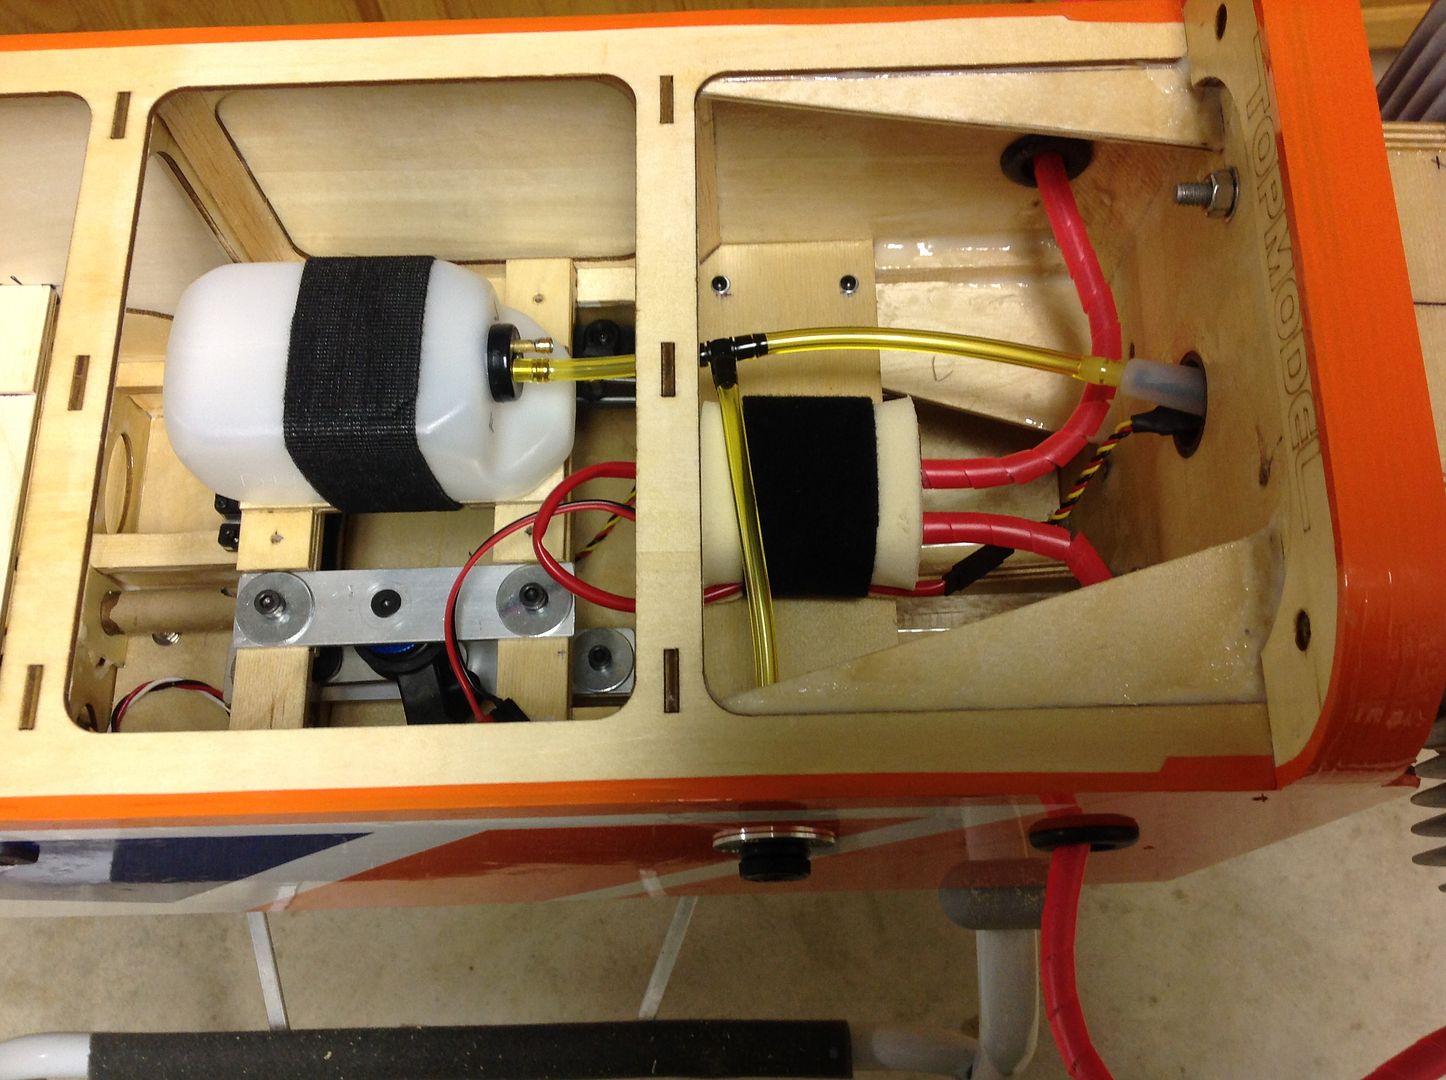
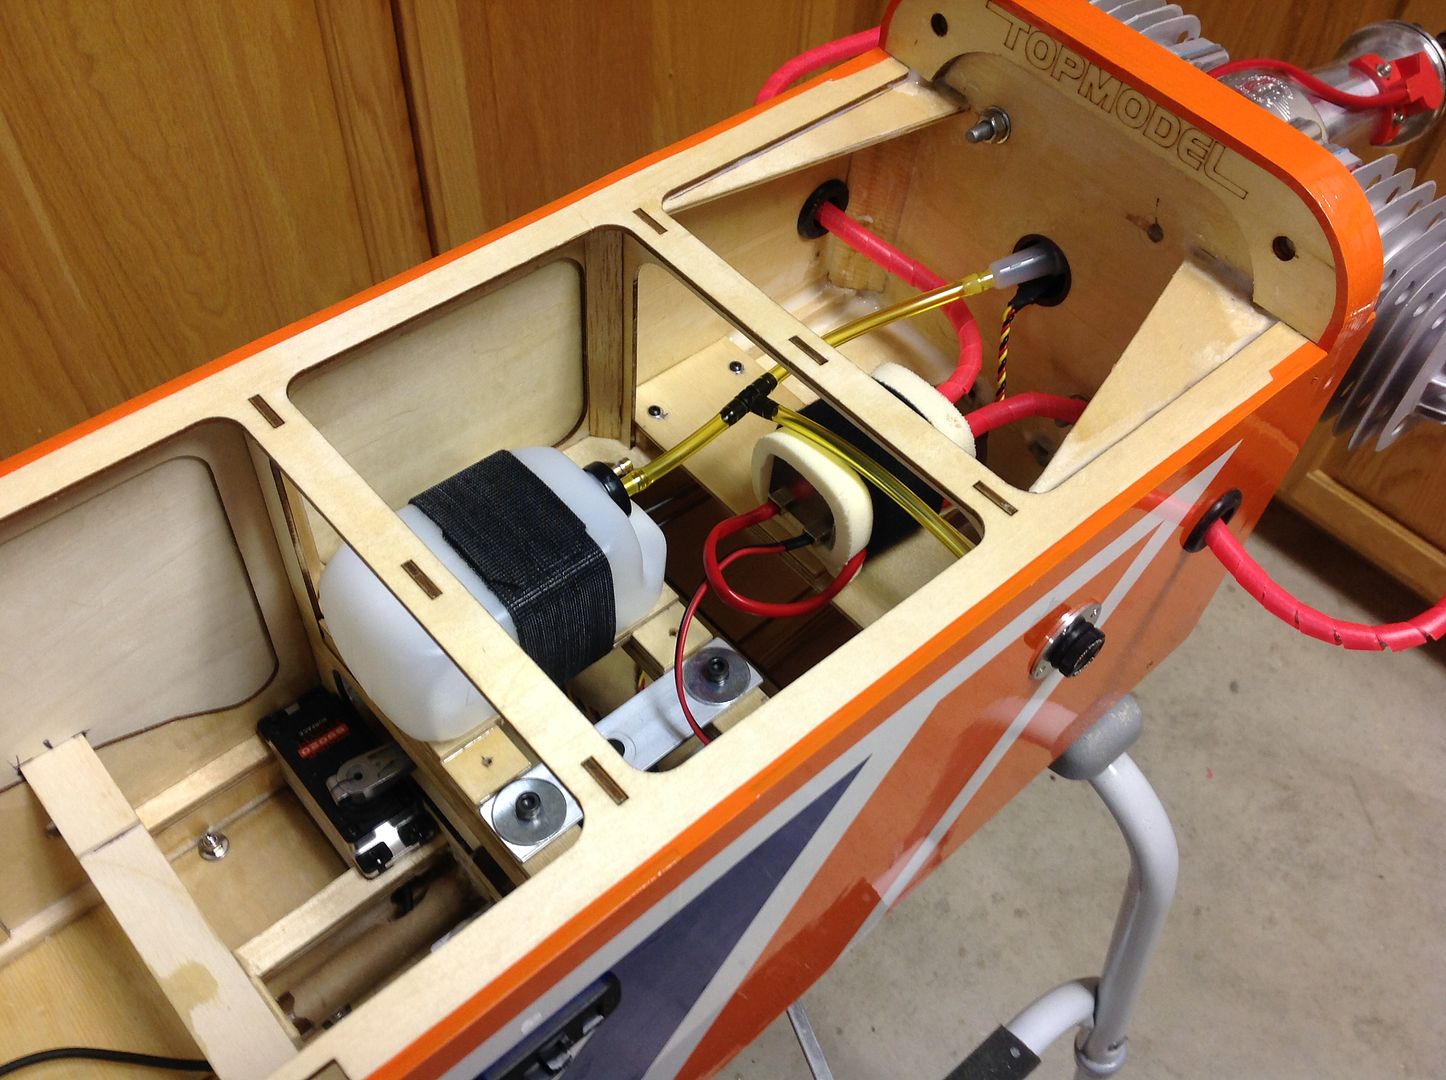
The header tank and ignition module are mounted on removable platforms and fit above the servos and steering servo saver.
Leave a comment:
-
Bidule 170 #2
The one thing we opted to change on Bidule 170 #2 is the steering servo saver. The Losi parts that Scot and Len are using have proven to be the superior choice compared to my design. Since the Bidule 170 tends to be nose heavy, we decided to move the servo saver as far back as possible (as Len did on his Bidule 170 v2.0). We also decided to try and design a way to have access for service from the top of the fuselage. So, instead of incorporating the servo and saver into one unit using the aluminum L-stock, we mounted the parts separately.
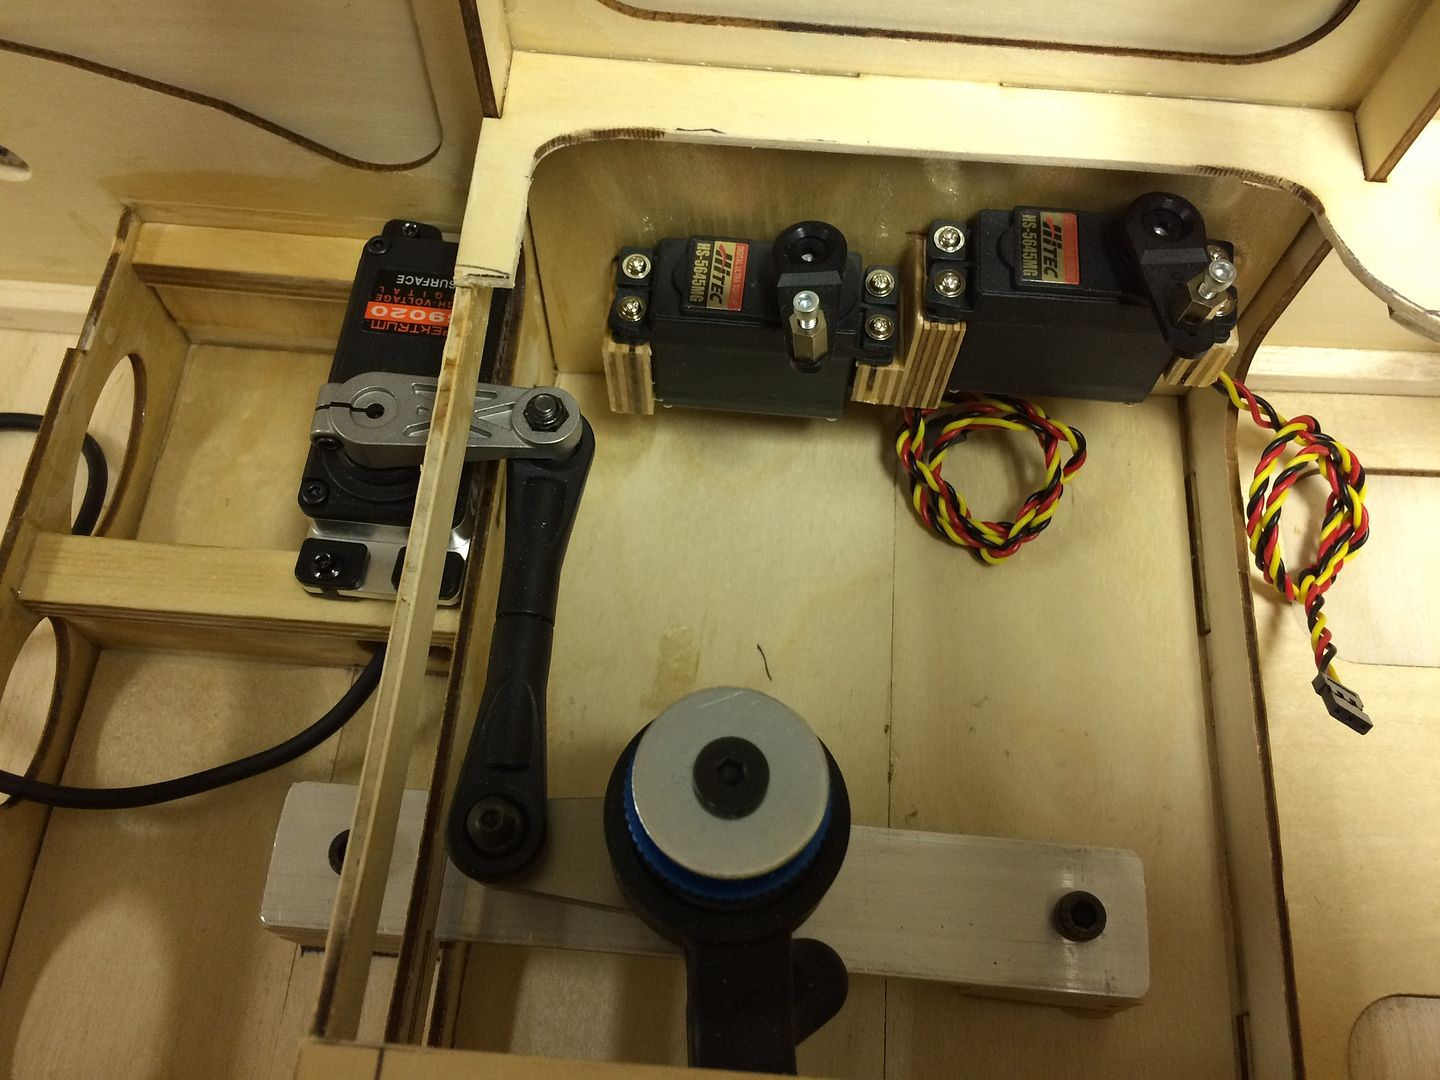
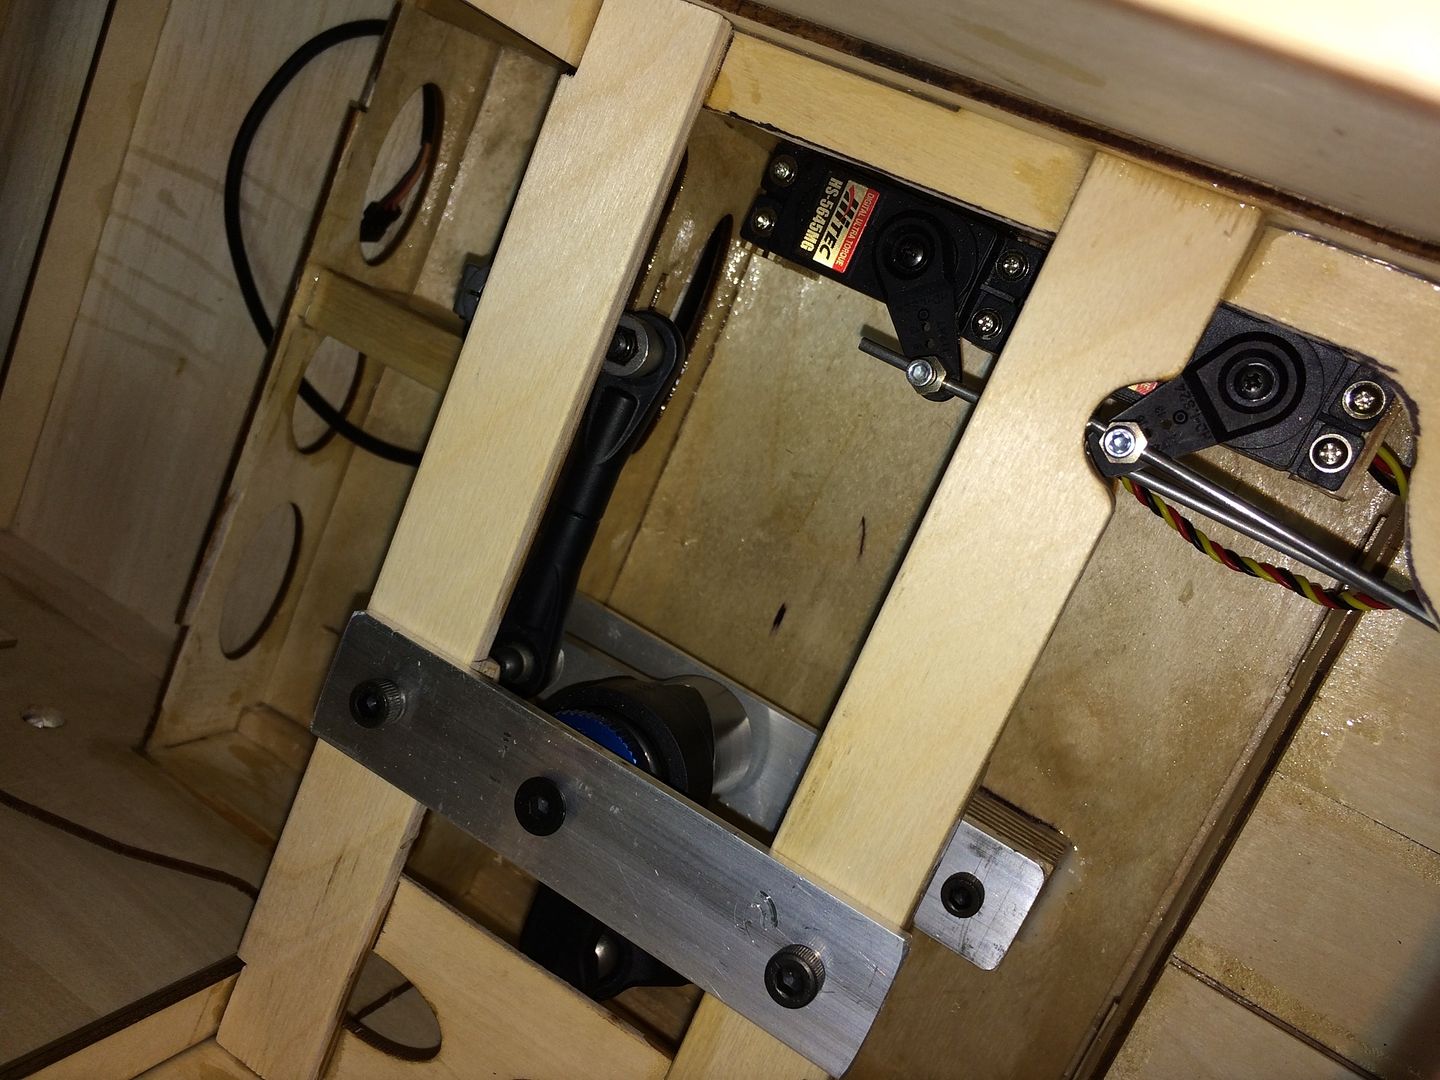
The throttle and choke servos are mounted against the left side of the fuselage.Leave a comment:
-
Although the Bidule 170 was designed with the DA-170 and DLE-170 engines in mind, we opted for the DA-150 after speaking at length with the DA folks at the WRAM Show last year. Again, at their recommendation, the prop chosen was a 2-blade Mejzlik 30x12. This engine and prop combination has worked beautifully and has provided plenty of power, excellent fuel economy, and very reasonable sound levels. That said, the prop does bark when flying at high throttle an no sailplane in tow.
After towing for the entire season of 2016 and logging over 50 hours of flight time, the DA-150 powered Bidule 170 has not only met my expectations, it has far exceeded them!
Now to build another one to match!
Leave a comment:
-
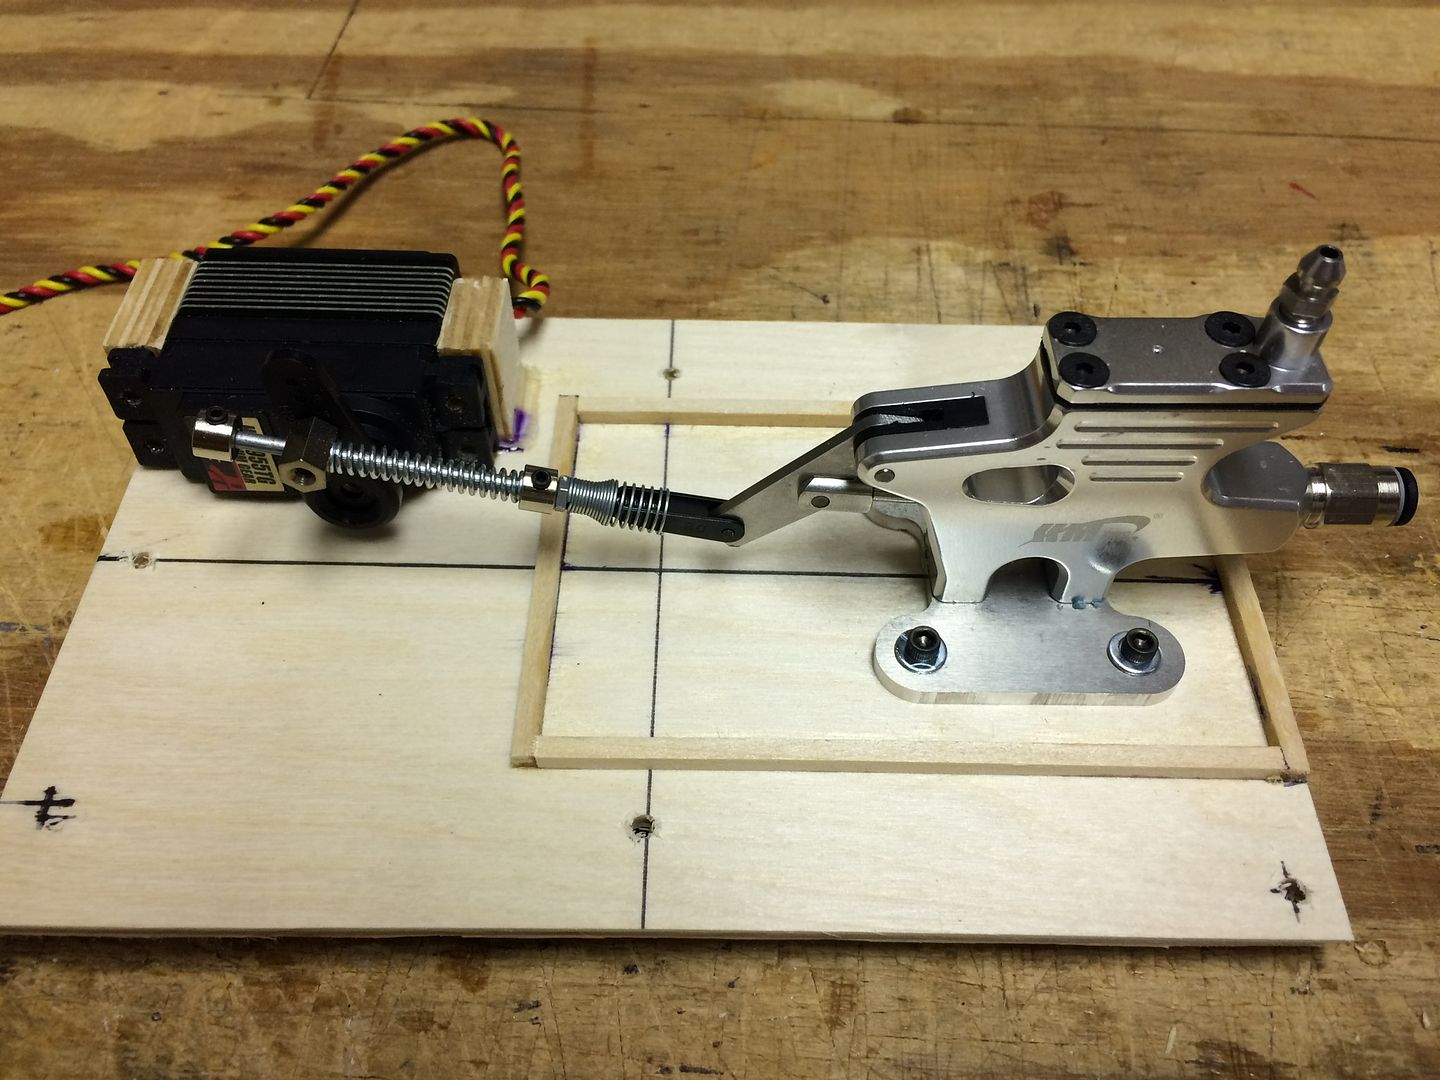
When we added the Aviation Concepts Hydraulic Disc Brakes, the master cylinder and servo were mounted on a removable plywood platform. The 1/8" square sticks form a dam around the master cylinder to catch any overflow leaks when charging the brake system. The plywood platform was coated with thinned epoxy to protect it in case of a spill.
Leave a comment:
-
March 2017 update:
This servo drive system proved to be inadequate, see post #24 in this thread for the update.
-
Very soon after the first flights, we determined that the HS-7954SH servo we were using for steering was not even close to being adequate. After consultation with Jeremy (aka Swiss1) of the Model Box, we installed a Spektrum S9020 steering servo. Designated as a surface servo, it is designed to handle the demands of steering 1/5-scale R/C trucks. It has massive torque, large physical size, and gears to match. In other words, the perfect choice for steering the Bidule 170 nose gear!
Power does not come without a penalty. We noticed that the rate of battery consumption increased considerably. What to do?
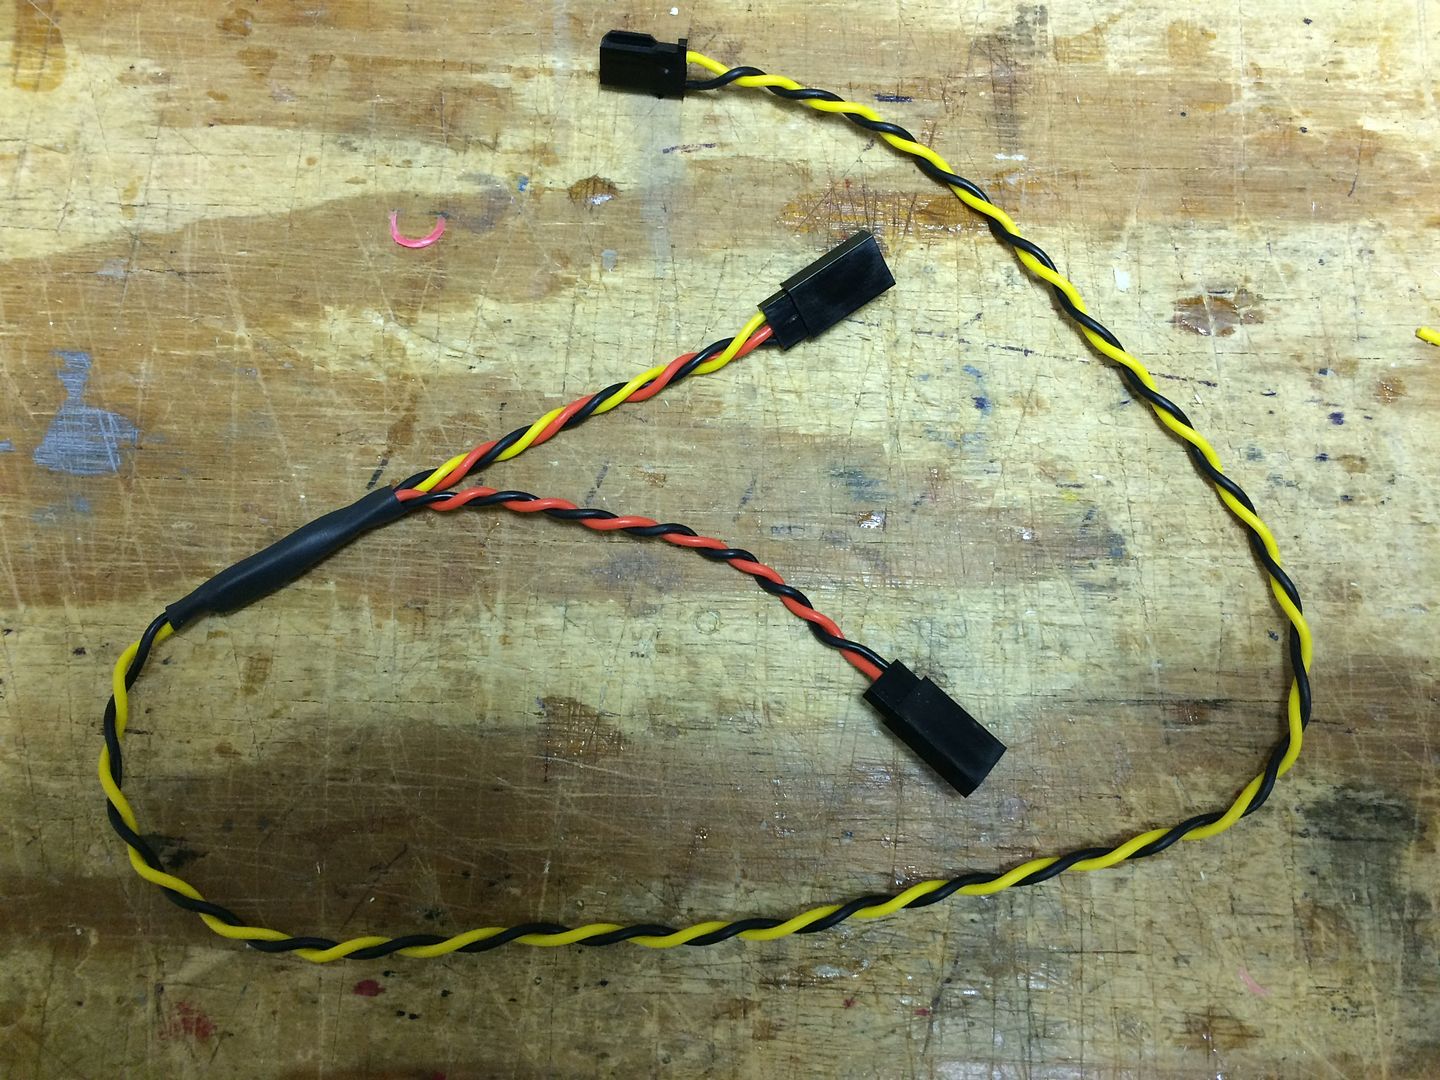
As with giant scale sailplane retract servos, we decided to driving this servo with a separate battery. This can be accomplished by making a simple wiring harness that uses the signal voltage and ground wire (yellow/black) from the receiver channel being used combined with the positive and ground wire (red/black) from the auxiliary battery (place a switch inline between this plug and the auxiliary battery). The S9020 steering servo then plugs into the 3-lead connector.
With this setup, the receiver battery drives the electronics in the servo and the auxiliary battery drives the motor in the servo.
 Last edited by JimD; 03-12-2017, 09:39 AM.
Leave a comment:

Leave a comment: