I originally wrote this review for RCAerotowing in 2013 however the website ate the article shortly thereafter due to "reasons". Anyway here's another copy, this time with updated edits denoted in red...
High Ridge Soaring – Schleicher KA-7 Sailplane
Review by Chris Evans - April 2013
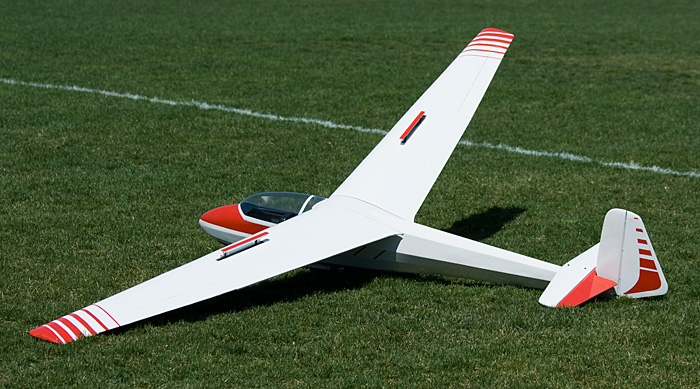
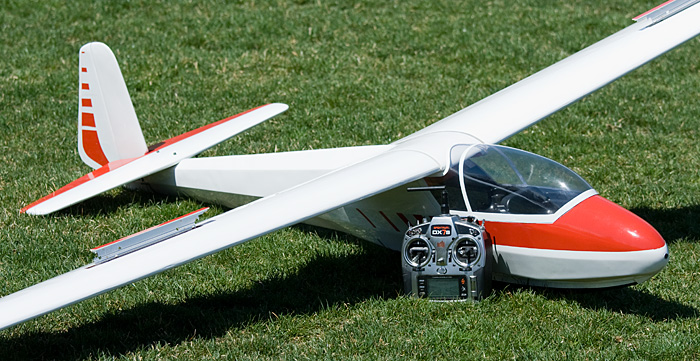
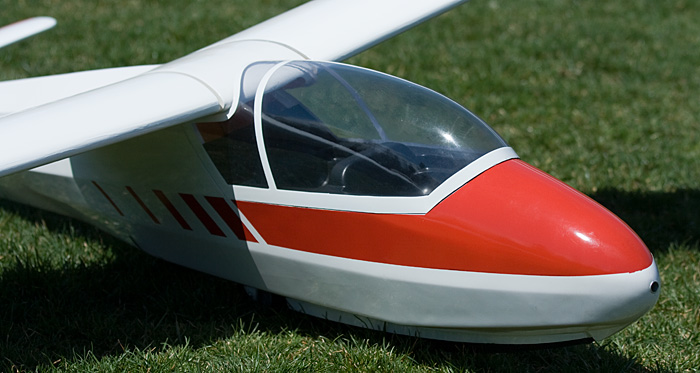
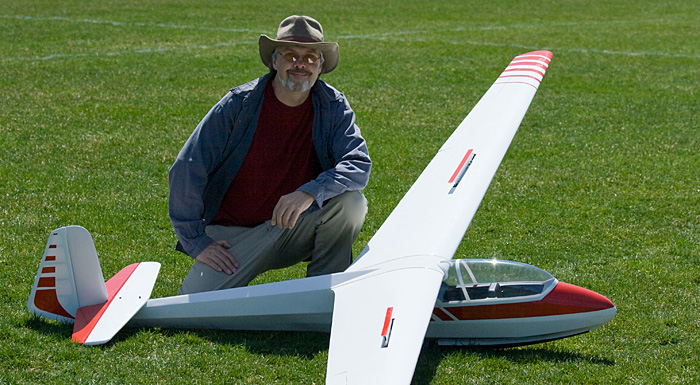
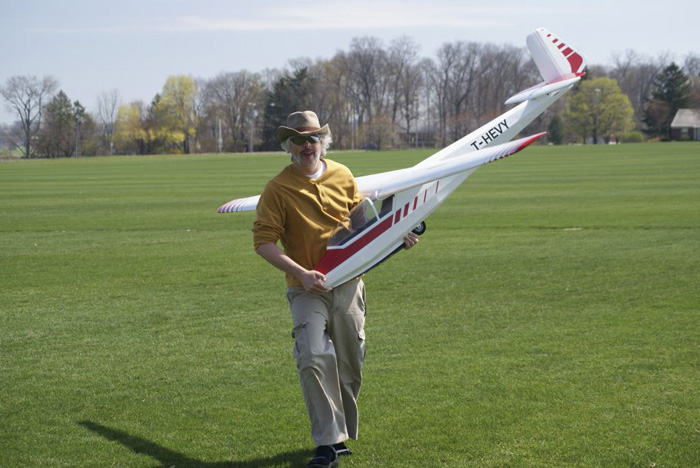
Our friends at Troy Built Models EDIT: did offer a selection of giant scale sailplanes including this beautiful KA-7. The two piece, four meter, wing is built up plywood/balsa, partially sheeted & covered with film. That’s mounted to a cavernous fiber-glass fuselage with a rather substantial steel wing rod. A removable horizontal stabilizer is bolted up to the rear. Controls are elevator, aileron & rudder with the option to install spoilers & an aerotow release. Judging by the size of the huge wing spoilers are somewhat of a must-have. She’s a real floater.
EDIT: Well actually I wouldn't go as far as to say she's a “floater†but she will thermal quite nicely in moderate lift. Not so much in light air.
What You Get
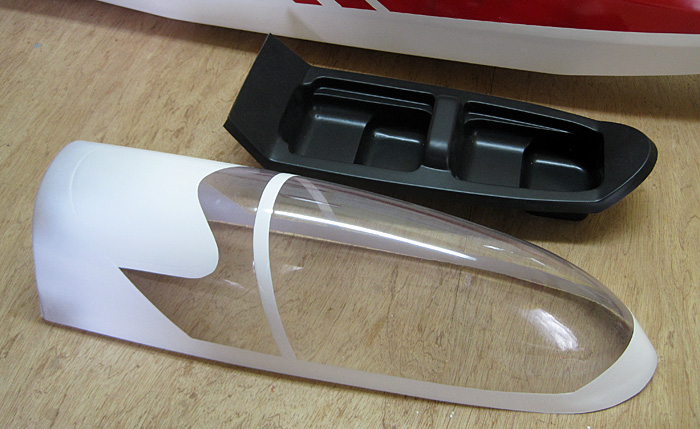
As a child I associated the size of something’s box with how much fun it would be. This box would have sent my fun-scale off the charts, it’s HUGE! Nestled neatly inside lurked a sleeping beauty. Once you unpack the big parts you’ll also find an assortment of goodies including a molded canopy, a nose-skid, the wing rod & a sizeable bag-o-hardware.
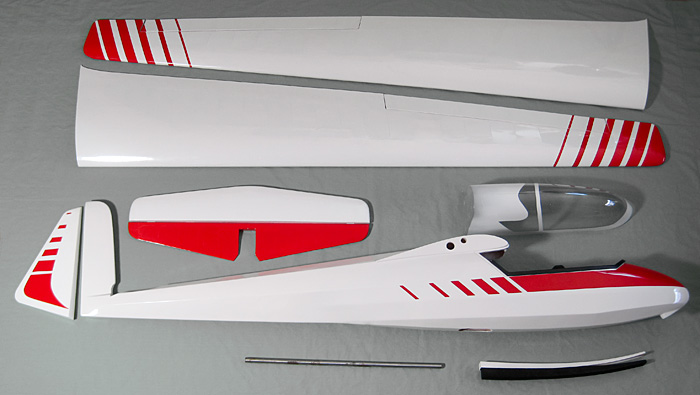
Components Included in the Kit
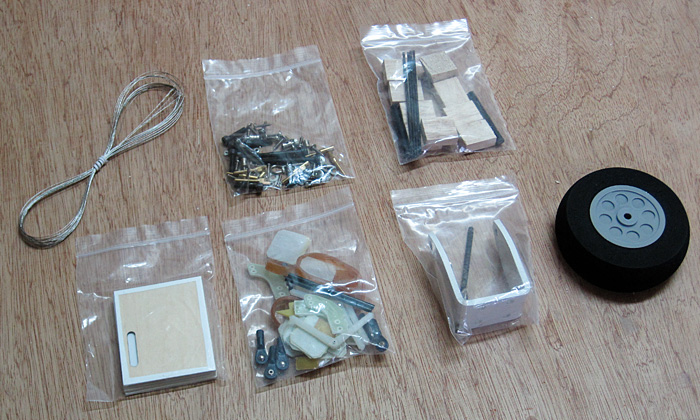
Needed to Complete
The following is a list of additional items we used to complete the model:
Assembly
At first I thought the instruction manual was missing but soon discovered it’s available instead as a PDF at troybuiltmodels.com. The KA-7’s manual is mostly clear & to the point line drawings. These are numbered so you can proceed step-by-step but oddly begin at step 45. After proceeding through step 50 we then jump back to 40 & only then do we arrive at step one. After some head-scratching I decided to ignore the numbering system & begin the build by installing the tow-release (step 44).
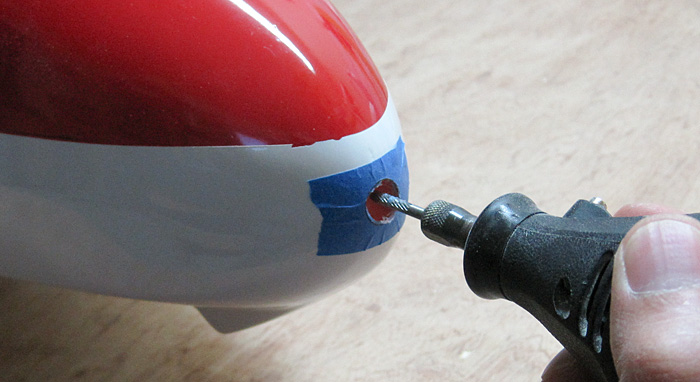
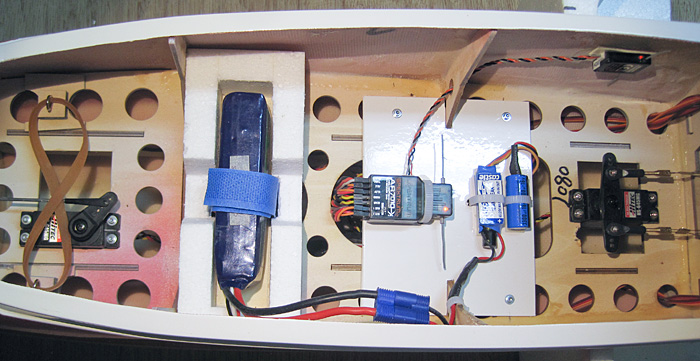
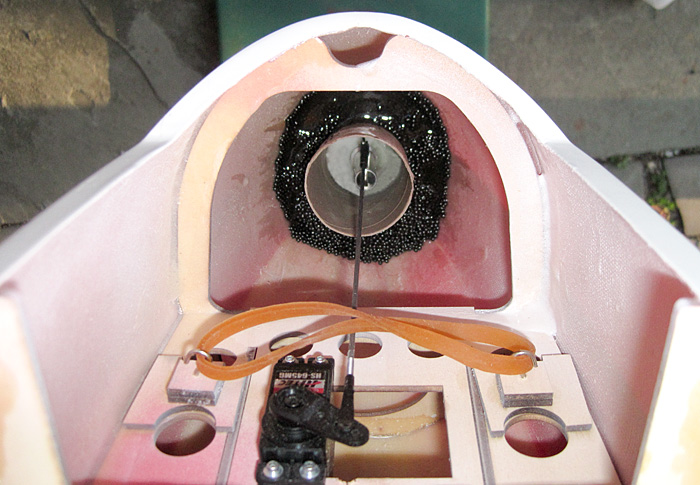
It’s a little unnerving drilling a big honkin’ hole in the nose of such a pretty fuselage. I took care to begin small & work my way up to the final sized hole. You don’t want to go straight for a big drill-bit, that’ll chew things up for sure & nobody likes a chewed up nose. With the release epoxied in place I dropped in a Hitec & married the two with a standard push-rod. The cockpit area features pre-cut locations for the servos. They were a perfect fit, an indicator of well thought out design & good tolerance quality. An encouraging start I thought.
Well it was encouraging until I heard reports of a potential issue with the wheel mount on these planes, specifically the area of lite-ply where the wheel hardware bolts up to.
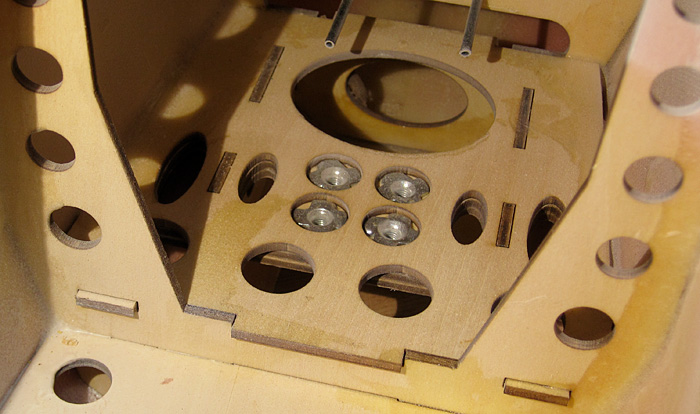
Well as you’ve probably guessed, the plywood structure surrounding the wheel mount looks like Swiss-cheese, lightning holes everywhere. Maybe that saves an ounce or tow but drop an 18 lb glider on that & something’s going to give. My buddy Tommy did just that landing his HRS ASK-21, which has identical construction. Apparently the wheel just telescoped up into the fuselage... CRUNCH! So, yeah I took some time to reinforce that area with solid (non-Swiss cheese) plywood. Basically I added a flat plate over the existing wheel mount then atop that added an extra bulkhead, fiber-glassed here & there. Fingers crossed that’ll hold together during those not so greased landings.
EDIT: Four years later, the gear is still holding together solid even after quite a few heavy landings.
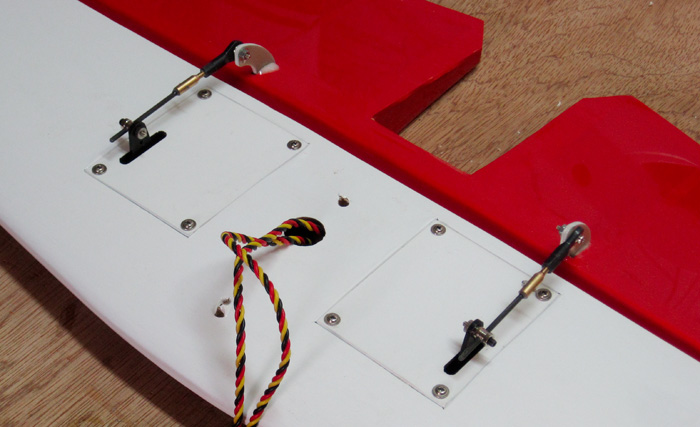
The elevator is an interesting design. Although it’s one piece, it employs two servos, one on each side. Looking at the size of the control surface I’m not sure why this is necessary. I’d figure a single servo should be sufficient but I suppose this dual setup provides an extra measure of strength & added precision. Well it would have if I could get the two servos to play nice with each other. Multiple servos on a single control surface are nothing new but they were for me. Long story short… as I was using analogue servos on a Y-harness, I had issues getting them to move in perfect unison. I ended up ditching the Y-harness & ran each on its own channel, then used the radio to fine-tune the endpoints & trim. They still buzz & fuss a little but they work. I’ll probably invest in digital servos instead, install a programmable mixer or better yet, just remove the connecting structure between the two elevator halves & be done with the buzzing. So I have a few options there.
EDIT: I ended up cutting the elevator in the middle so that each surface is independent. Problem solved plus this gives me a level of redundancy if something goes wrong with the elevator.
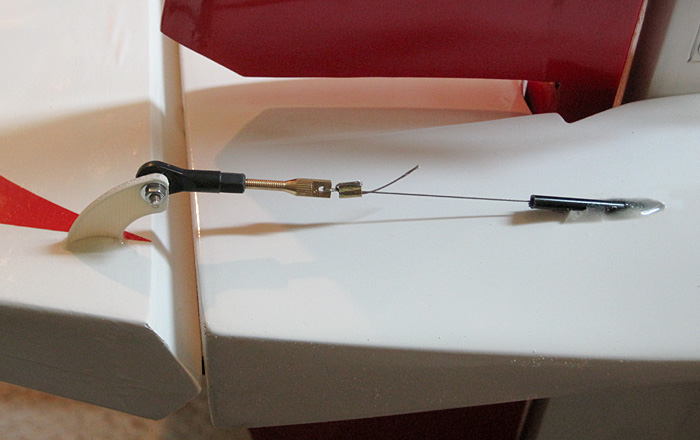
If you’ve done pull-pull rudders before, this’ll be business as usual. All the hardware is provided including wire & some very nice connectors. Guide tubes are already installed. All you need do is drill exit holes at the rear of the fuselage then install two short “plastical tubesâ€, as the manual calls them. These keep the wire from chafing. Another Hitec goes up front & drops snugly into the pre-cut hole. After some tensioning I had the rudder operational with minimal fuss. The hardware is top-notch & made these steps quite enjoyable.
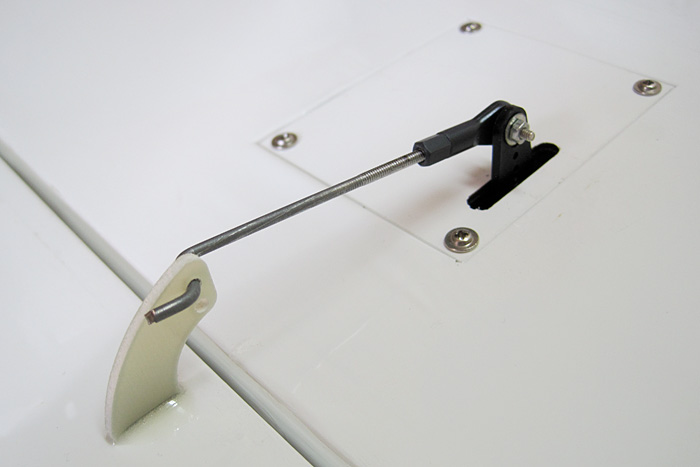
The ailerons are hooked up in a fairly standard manner using hatches to mount the servos. The provided carbon-fiber push-rods, ball joint connectors & fiber control horns were all really nice. Unfortunately I managed to lose some of the bits in my workshop clutter. I’m sure they’ll turn up someday & be used on another project but for now, good old metal rods & a Z-bend will do just fine. Props though to the manufacturer for supplying such complete & quality hardware.
High Ridge Soaring – Schleicher KA-7 Sailplane
Review by Chris Evans - April 2013

Our friends at Troy Built Models EDIT: did offer a selection of giant scale sailplanes including this beautiful KA-7. The two piece, four meter, wing is built up plywood/balsa, partially sheeted & covered with film. That’s mounted to a cavernous fiber-glass fuselage with a rather substantial steel wing rod. A removable horizontal stabilizer is bolted up to the rear. Controls are elevator, aileron & rudder with the option to install spoilers & an aerotow release. Judging by the size of the huge wing spoilers are somewhat of a must-have. She’s a real floater.
EDIT: Well actually I wouldn't go as far as to say she's a “floater†but she will thermal quite nicely in moderate lift. Not so much in light air.
What You Get
As a child I associated the size of something’s box with how much fun it would be. This box would have sent my fun-scale off the charts, it’s HUGE! Nestled neatly inside lurked a sleeping beauty. Once you unpack the big parts you’ll also find an assortment of goodies including a molded canopy, a nose-skid, the wing rod & a sizeable bag-o-hardware.

Components Included in the Kit
- Major airframe parts: wing panels, fuselage, tail pieces, canopy, nose skid, wing-rod
- Wheel & mounting hardware
- Various hardware kits, including a pull-pull system for the rudder, servo hatches, control-horns, push-rods, linkages, hinges & other knickknacks

Needed to Complete
The following is a list of additional items we used to complete the model:
- Servos – Four Hitec HS-645MG servos (ailerons, rudder, tow-release), two Hitec HS-635HN servos (dual elevators)
- Radio – Spektrum DX7i 2.4-GHz Tx
- Receiver – Spektrum AR7010 7ch Rx
- Castle 10a BEC
- Rx Power – 3S 2200 mAh LiPo
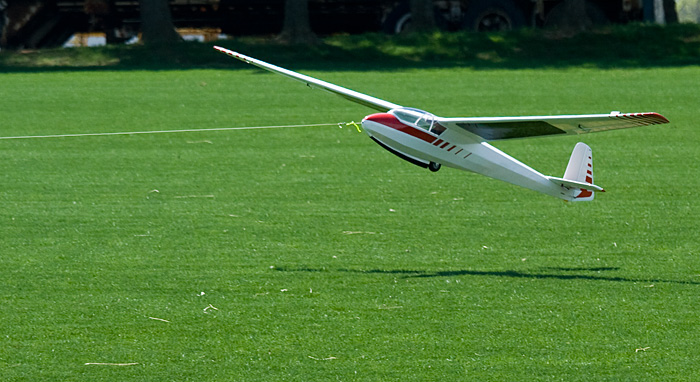
- Hobby-Lobby Aerotow Release
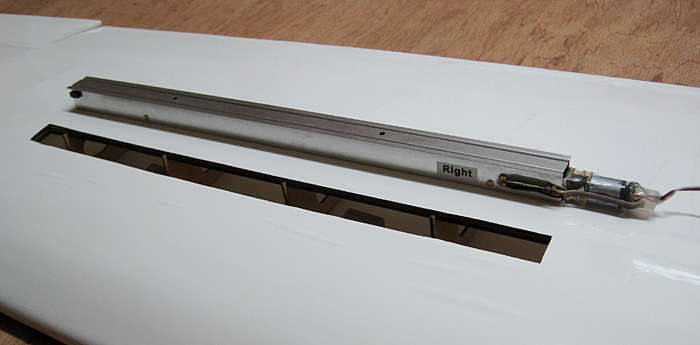
- Two 300mm MPI Servoless Spoilers
- Miscellaneous – Servo extensions, glue, epoxy, thread-locking compound
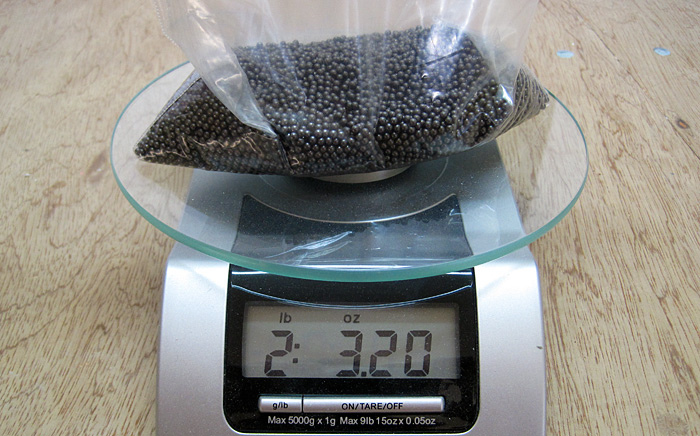
- Several pounds of lead-shot for nose weight
- One metal push-rod for the tow-release
Assembly
At first I thought the instruction manual was missing but soon discovered it’s available instead as a PDF at troybuiltmodels.com. The KA-7’s manual is mostly clear & to the point line drawings. These are numbered so you can proceed step-by-step but oddly begin at step 45. After proceeding through step 50 we then jump back to 40 & only then do we arrive at step one. After some head-scratching I decided to ignore the numbering system & begin the build by installing the tow-release (step 44).

It’s a little unnerving drilling a big honkin’ hole in the nose of such a pretty fuselage. I took care to begin small & work my way up to the final sized hole. You don’t want to go straight for a big drill-bit, that’ll chew things up for sure & nobody likes a chewed up nose. With the release epoxied in place I dropped in a Hitec & married the two with a standard push-rod. The cockpit area features pre-cut locations for the servos. They were a perfect fit, an indicator of well thought out design & good tolerance quality. An encouraging start I thought.
Well it was encouraging until I heard reports of a potential issue with the wheel mount on these planes, specifically the area of lite-ply where the wheel hardware bolts up to.

Well as you’ve probably guessed, the plywood structure surrounding the wheel mount looks like Swiss-cheese, lightning holes everywhere. Maybe that saves an ounce or tow but drop an 18 lb glider on that & something’s going to give. My buddy Tommy did just that landing his HRS ASK-21, which has identical construction. Apparently the wheel just telescoped up into the fuselage... CRUNCH! So, yeah I took some time to reinforce that area with solid (non-Swiss cheese) plywood. Basically I added a flat plate over the existing wheel mount then atop that added an extra bulkhead, fiber-glassed here & there. Fingers crossed that’ll hold together during those not so greased landings.
EDIT: Four years later, the gear is still holding together solid even after quite a few heavy landings.

The elevator is an interesting design. Although it’s one piece, it employs two servos, one on each side. Looking at the size of the control surface I’m not sure why this is necessary. I’d figure a single servo should be sufficient but I suppose this dual setup provides an extra measure of strength & added precision. Well it would have if I could get the two servos to play nice with each other. Multiple servos on a single control surface are nothing new but they were for me. Long story short… as I was using analogue servos on a Y-harness, I had issues getting them to move in perfect unison. I ended up ditching the Y-harness & ran each on its own channel, then used the radio to fine-tune the endpoints & trim. They still buzz & fuss a little but they work. I’ll probably invest in digital servos instead, install a programmable mixer or better yet, just remove the connecting structure between the two elevator halves & be done with the buzzing. So I have a few options there.
EDIT: I ended up cutting the elevator in the middle so that each surface is independent. Problem solved plus this gives me a level of redundancy if something goes wrong with the elevator.

If you’ve done pull-pull rudders before, this’ll be business as usual. All the hardware is provided including wire & some very nice connectors. Guide tubes are already installed. All you need do is drill exit holes at the rear of the fuselage then install two short “plastical tubesâ€, as the manual calls them. These keep the wire from chafing. Another Hitec goes up front & drops snugly into the pre-cut hole. After some tensioning I had the rudder operational with minimal fuss. The hardware is top-notch & made these steps quite enjoyable.

The ailerons are hooked up in a fairly standard manner using hatches to mount the servos. The provided carbon-fiber push-rods, ball joint connectors & fiber control horns were all really nice. Unfortunately I managed to lose some of the bits in my workshop clutter. I’m sure they’ll turn up someday & be used on another project but for now, good old metal rods & a Z-bend will do just fine. Props though to the manufacturer for supplying such complete & quality hardware.






Comment