

 Tweet
Tweet
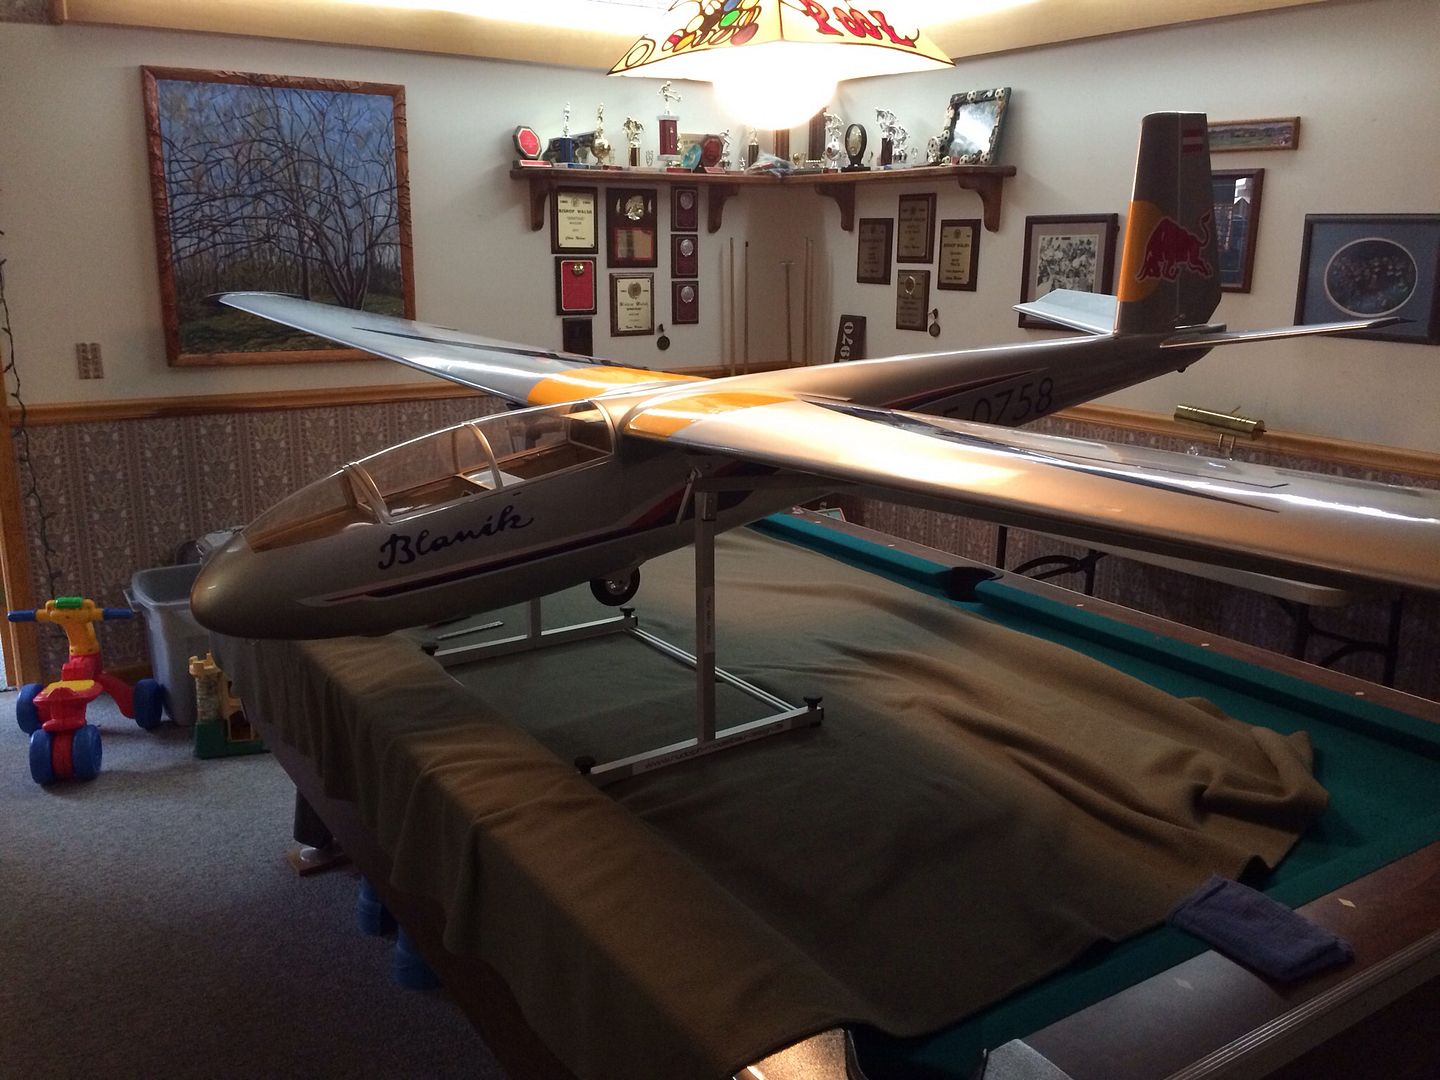
My friend #JoeN decided on the L-13 Blanik for his first giant scale sailplane. After reviewing the build threads and talking to those who have built and flown this model, Joe did modifications to the fuselage to strengthen the cockpit area and landing gear support.
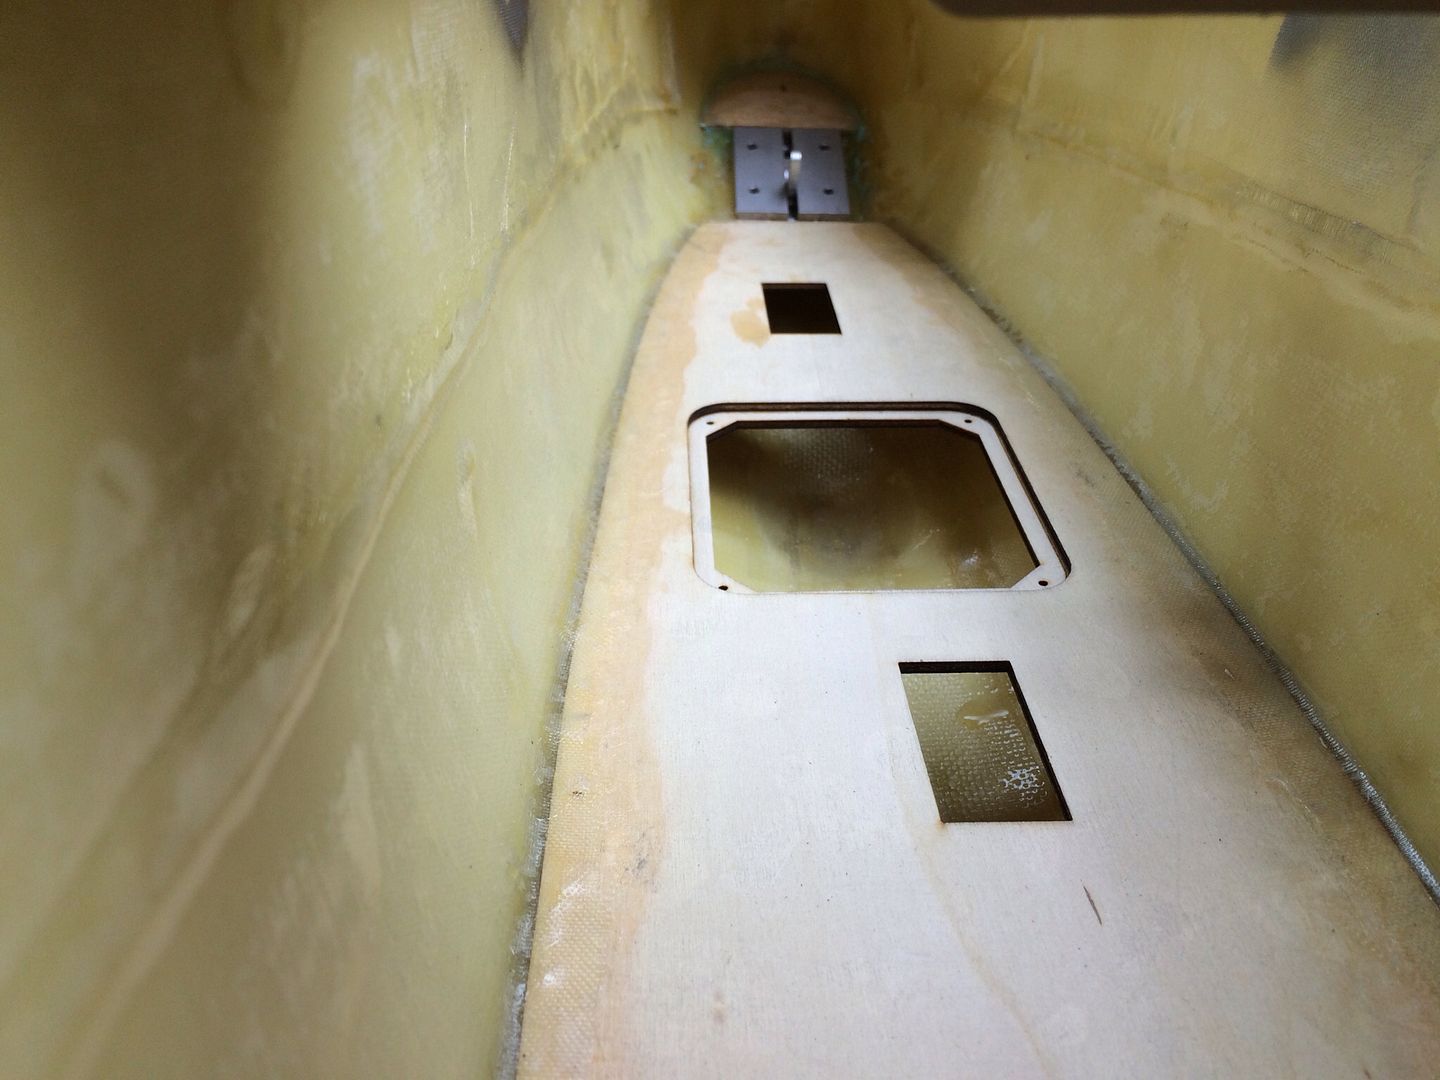
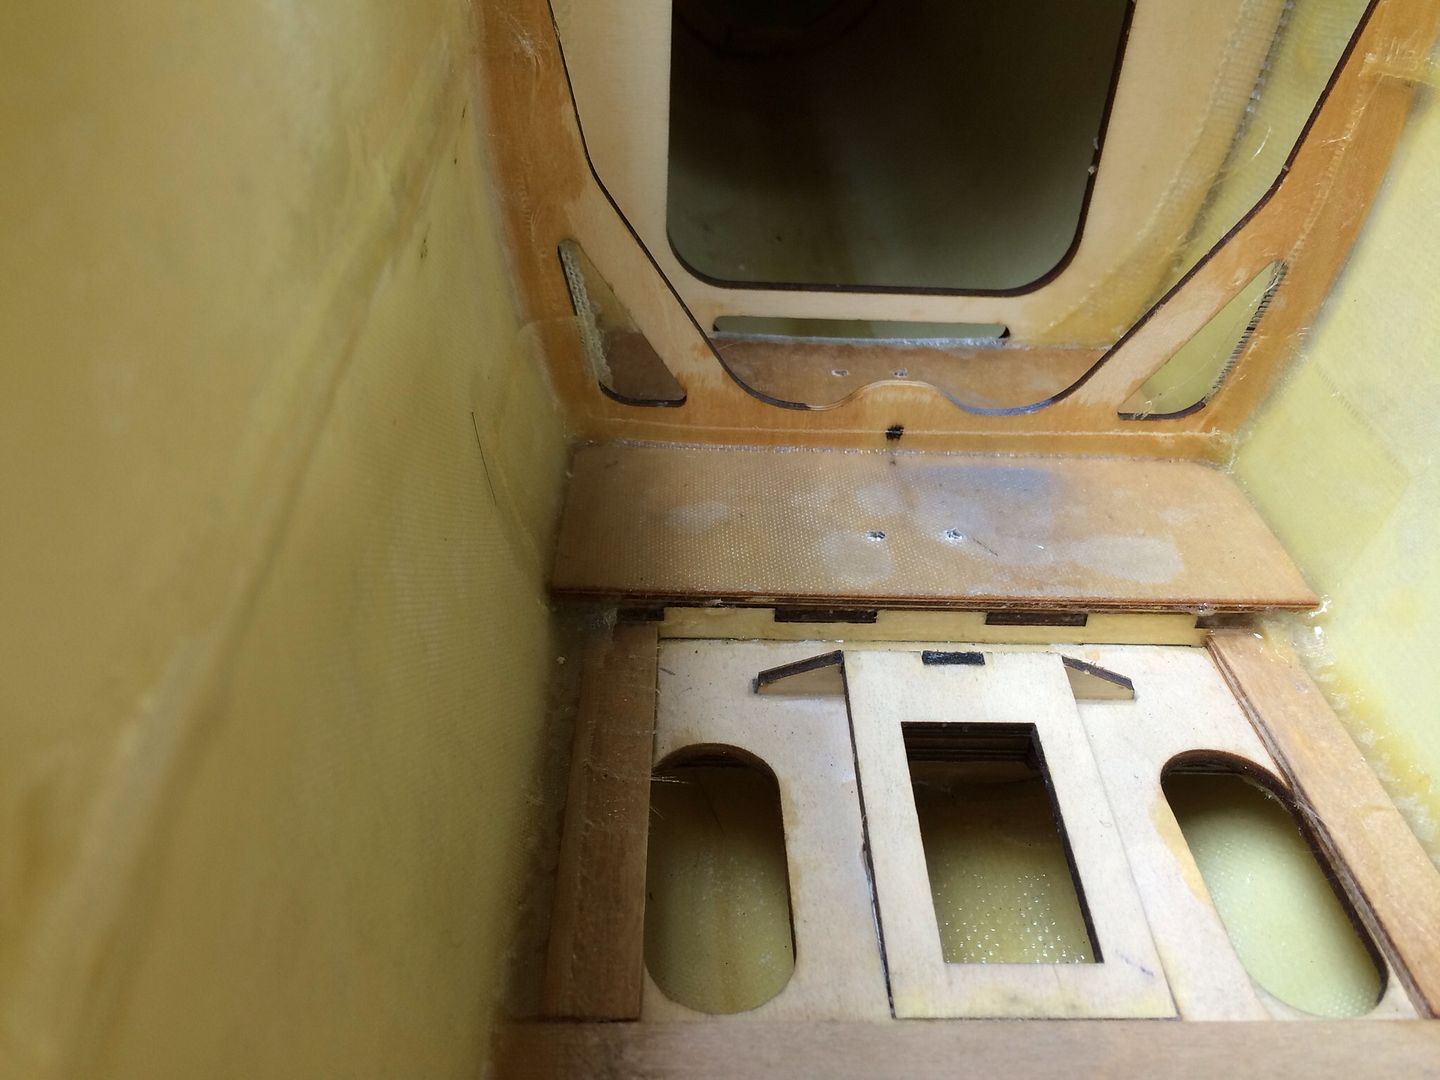
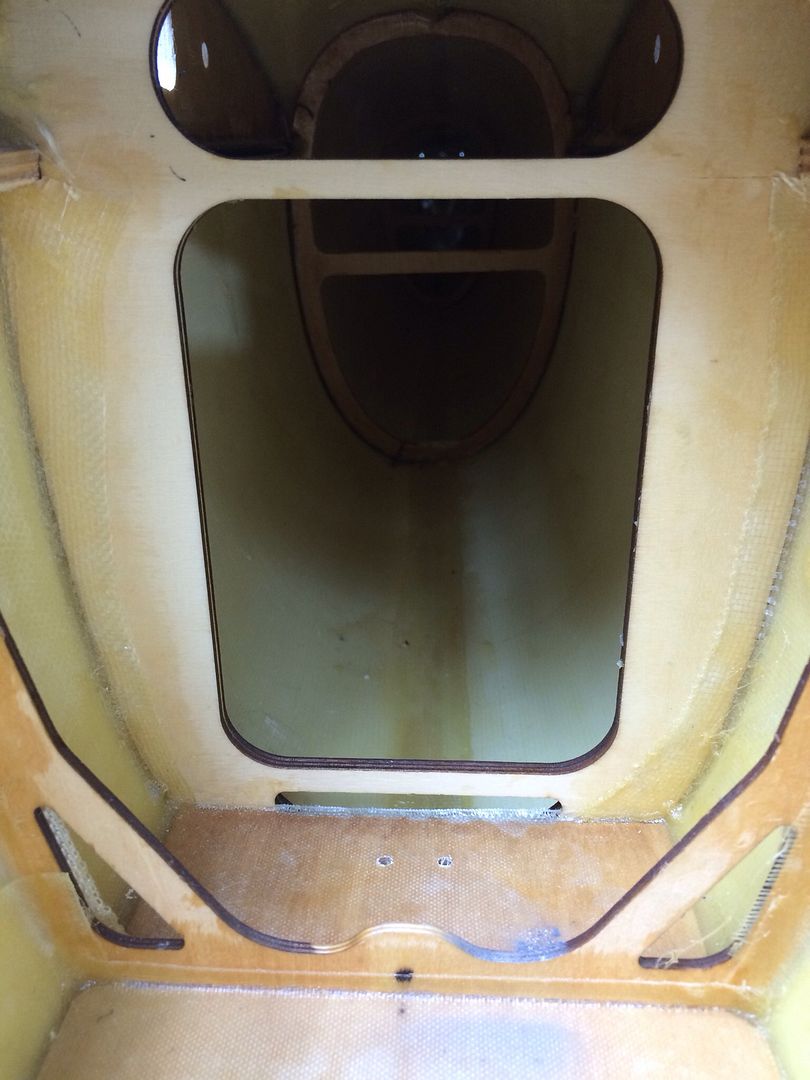
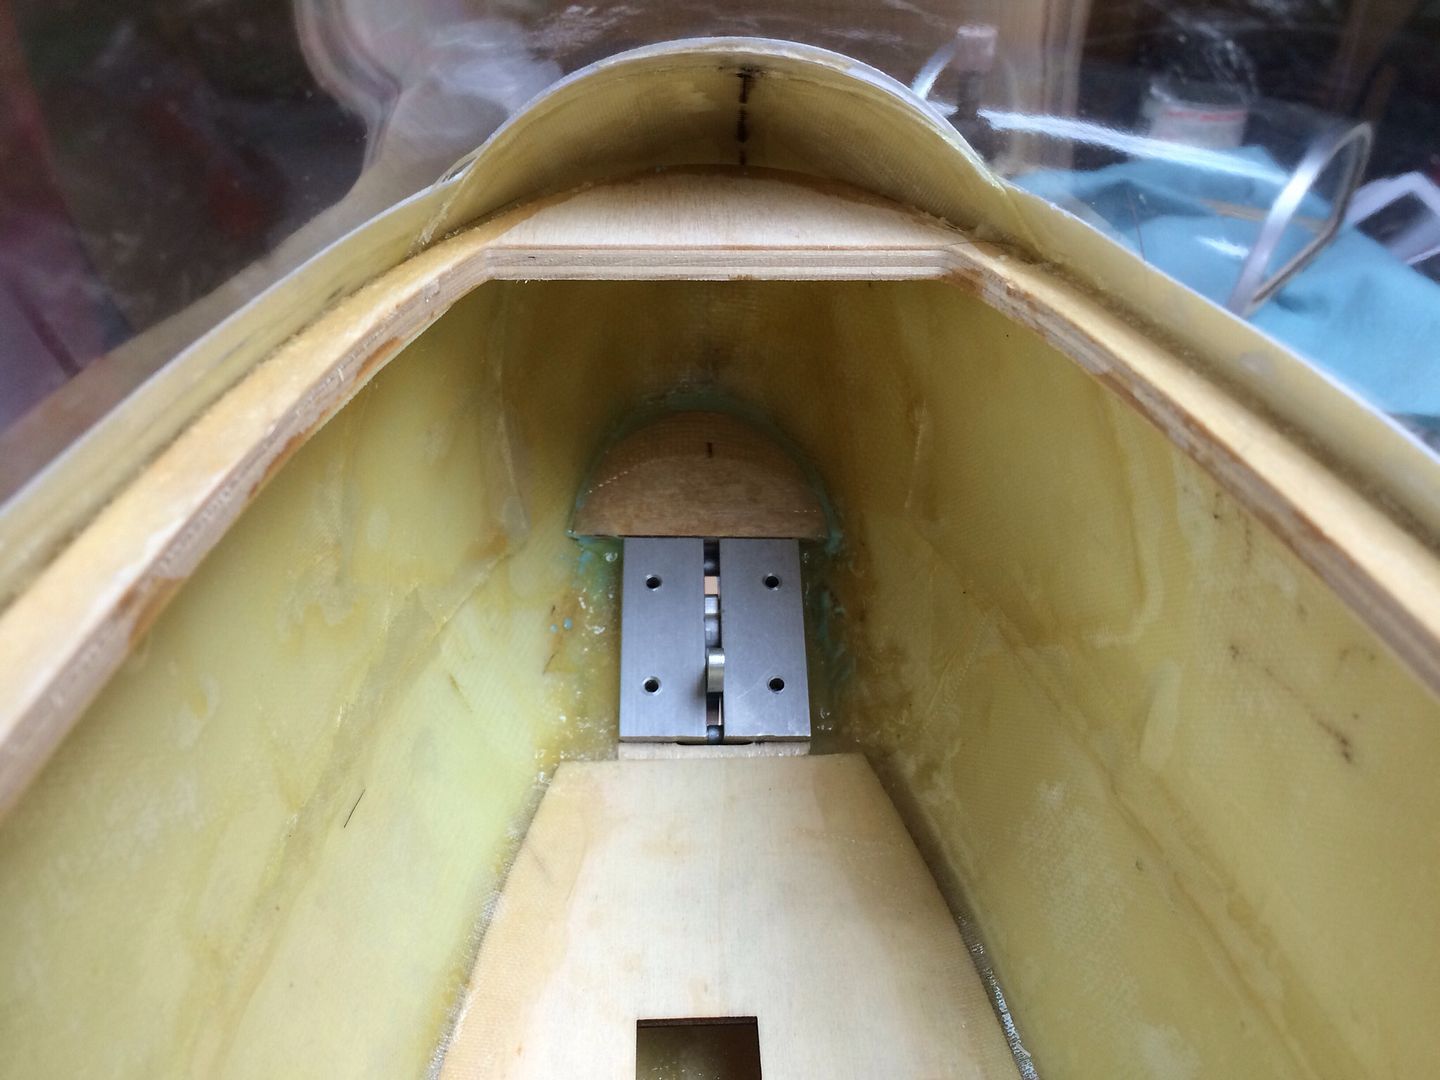
Using the aircraft plywood parts available from Gunny and Aviation Concepts, he cut out the stock floor panel (leaving about 1/4" around the perimeter). The Aviation Concepts floor was attached on top of this and fiberglass cloth was applied above and below the this new floor panel running forward into the nose and reward to the bulkhead under the wing mount.
The Aviation Concepts parts also include a crutch that reinforces under the rim of the cockpit and a hoop that doubles the rim of the cockpit area behind the canopy. Joe also fashioned plywood hoops that reinforce the canopy structure.
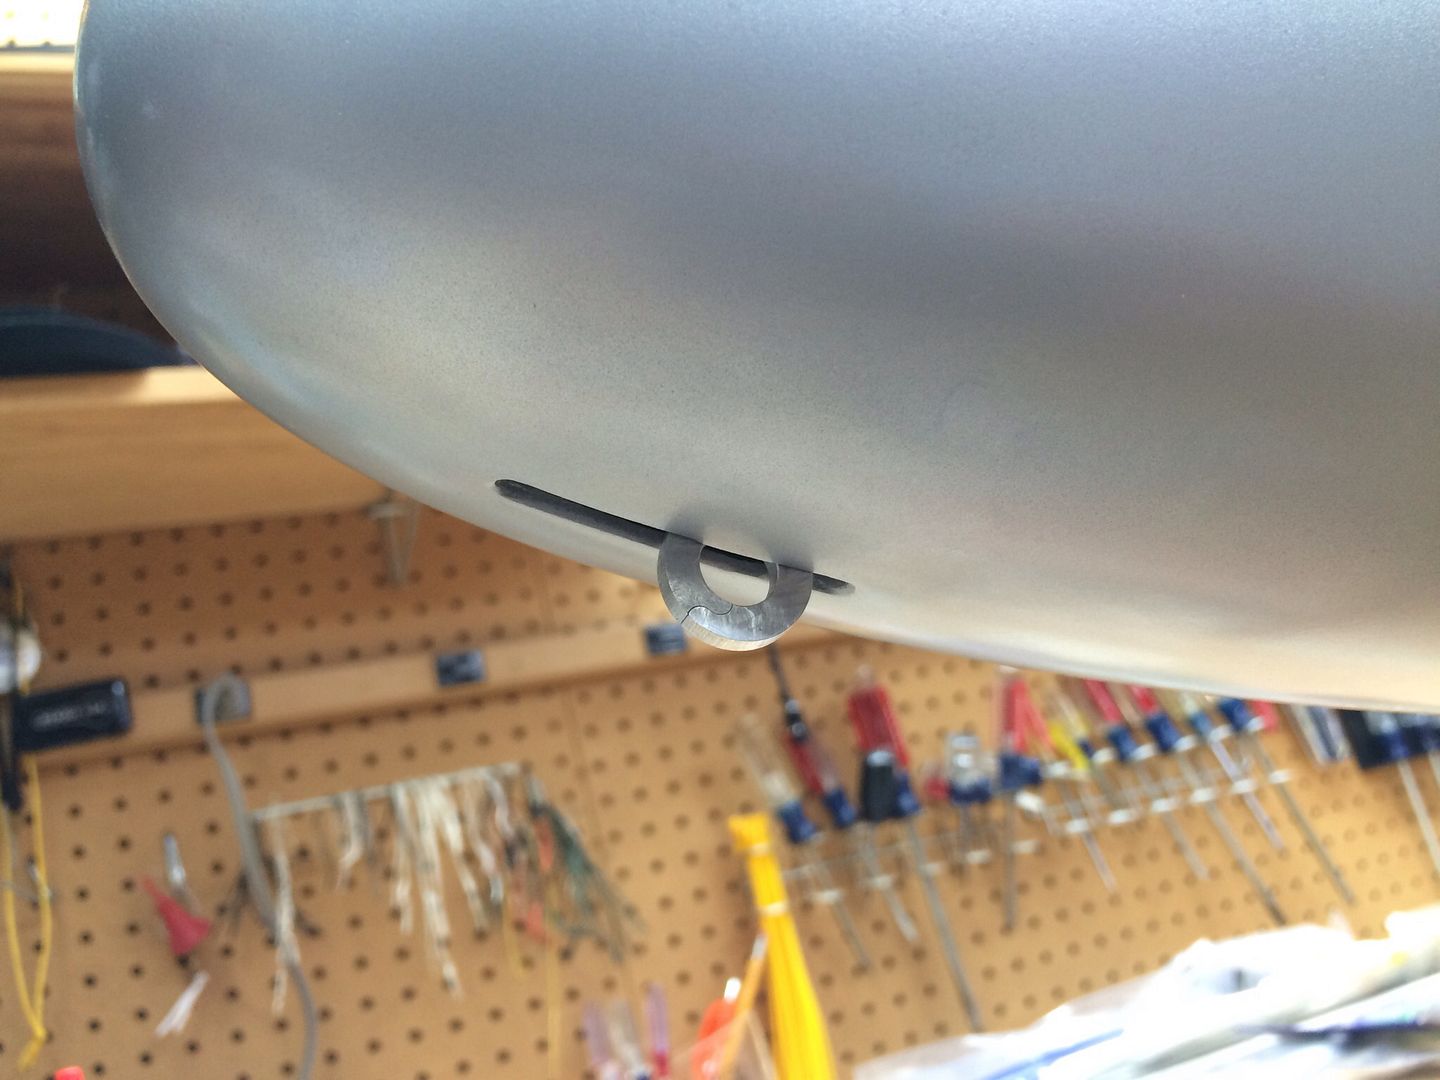
A scale tow release is also available from Gunny at Aviation Concepts and Joe added this to the nose of his model.
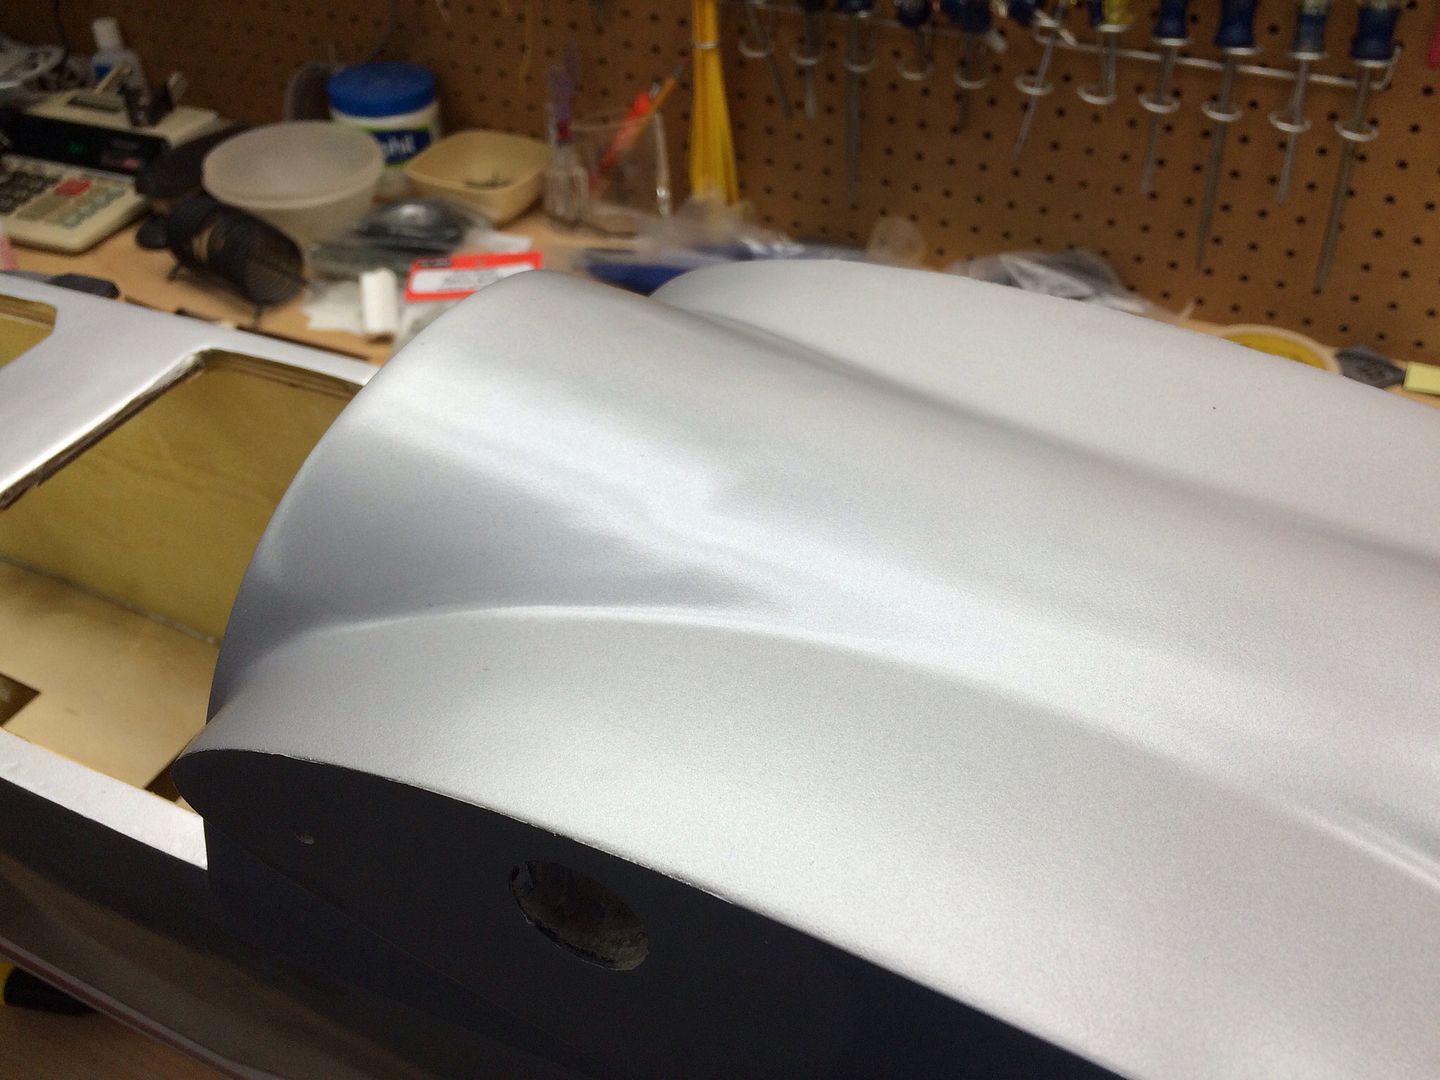
Joe also removed the three scale windows in the fuselage and closed the openings with fiberglass.
Here are some pictures:
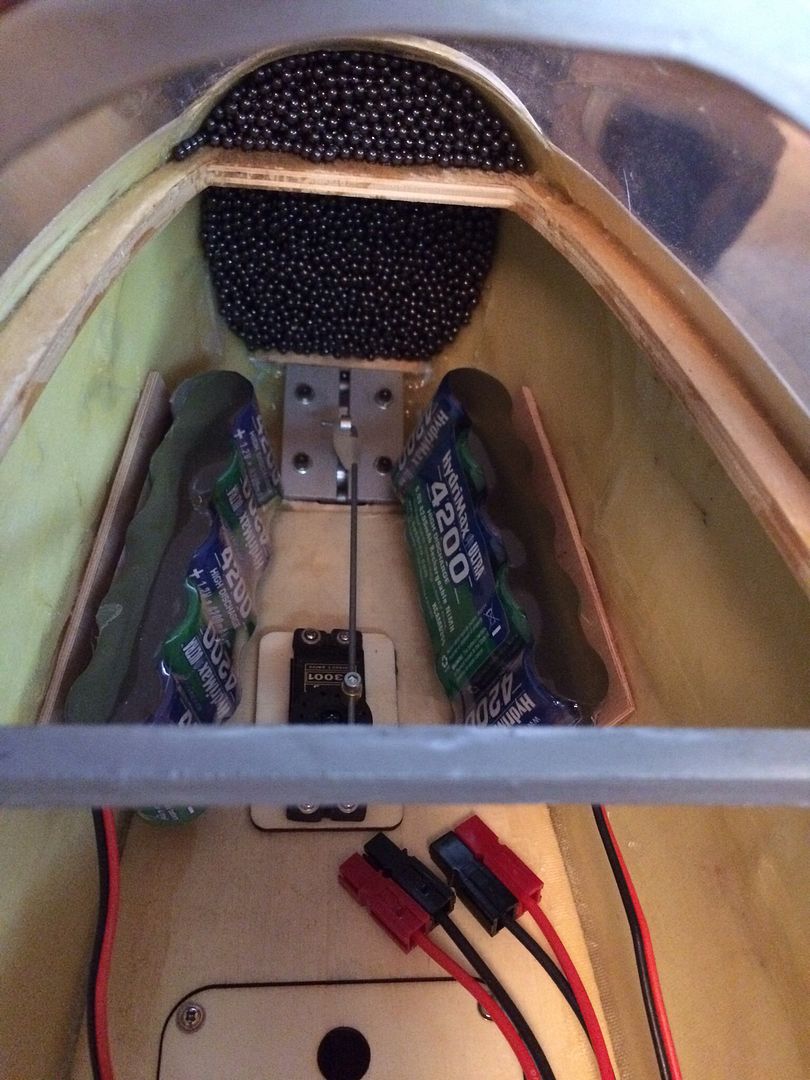
Once all of the structural reinforcements were completed, the model was balanced per the recommendations in the instruction manual. We opted to move the balance stand verticals out to their widest point to effectively move the balance point further back on the forward swept wings.
To achieve a slightly nose down balance with the balance point in the center of the recommended range, 3 lbs 11 oz of lead shot was added in the nose along with two 5-cell NiMH 4,200 mAh batteries which each weigh 12.6 oz. (as a means of comparison, 2-cell A123 2,500 mAh battery packs weigh 5.7 oz each).
Using the aircraft plywood parts available from Gunny and Aviation Concepts, he cut out the stock floor panel (leaving about 1/4" around the perimeter). The Aviation Concepts floor was attached on top of this and fiberglass cloth was applied above and below the this new floor panel running forward into the nose and reward to the bulkhead under the wing mount.
The Aviation Concepts parts also include a crutch that reinforces under the rim of the cockpit and a hoop that doubles the rim of the cockpit area behind the canopy. Joe also fashioned plywood hoops that reinforce the canopy structure.
A scale tow release is also available from Gunny at Aviation Concepts and Joe added this to the nose of his model.
Joe also removed the three scale windows in the fuselage and closed the openings with fiberglass.
Here are some pictures:
Once all of the structural reinforcements were completed, the model was balanced per the recommendations in the instruction manual. We opted to move the balance stand verticals out to their widest point to effectively move the balance point further back on the forward swept wings.
To achieve a slightly nose down balance with the balance point in the center of the recommended range, 3 lbs 11 oz of lead shot was added in the nose along with two 5-cell NiMH 4,200 mAh batteries which each weigh 12.6 oz. (as a means of comparison, 2-cell A123 2,500 mAh battery packs weigh 5.7 oz each).
 AAA TT TN

Comment